
We begin with an angle most clients never see: the packaging is as much an efficiency tool as the tip itself. The Natural Round (Medium) full-cover soft-gel set arrives in a bubblegum-pink compartment box with a deep magenta label and clear glossy tips already sorted into 15 sizes — and when we treat that box like an active part of our prep, the chair-side rhythm tightens and repeatable fit becomes predictable without extra guessing.
Station Setup
Set a compact, visible zone on your station so every step is one reach. We leave the pink plastic organizer open in a horizontal position so the clear tips sit in front of us, label facing up. Arrange a small tray for the sizes we use most, a fine-tipped permanent marker, pre-cut adhesive tabs or a bottle of thin gel, and a row of identical sticky note flags for client initials or set numbers. Keeping the magenta label visible helps us quickly confirm we’re pulling Natural Round (Medium) rather than another shape.
Pre-Size Routine
Our sizing pass is group-based rather than nail-by-nail. We pick three hands at a time: left small-to-medium, left large-to-extra, right small-to-medium, and right large-to-extra. For most clients the Natural Round (Medium) palette covers the middle widths that make up a majority of sets, so we pre-select likely sizes from the compartments that match each hand’s typical spread and place them on the tray in numerical order. Because each tip in this set has a printed size number, the visual read is fast; we use that number to map to our client’s size map and avoid repeated measuring.
Labeling And Organization
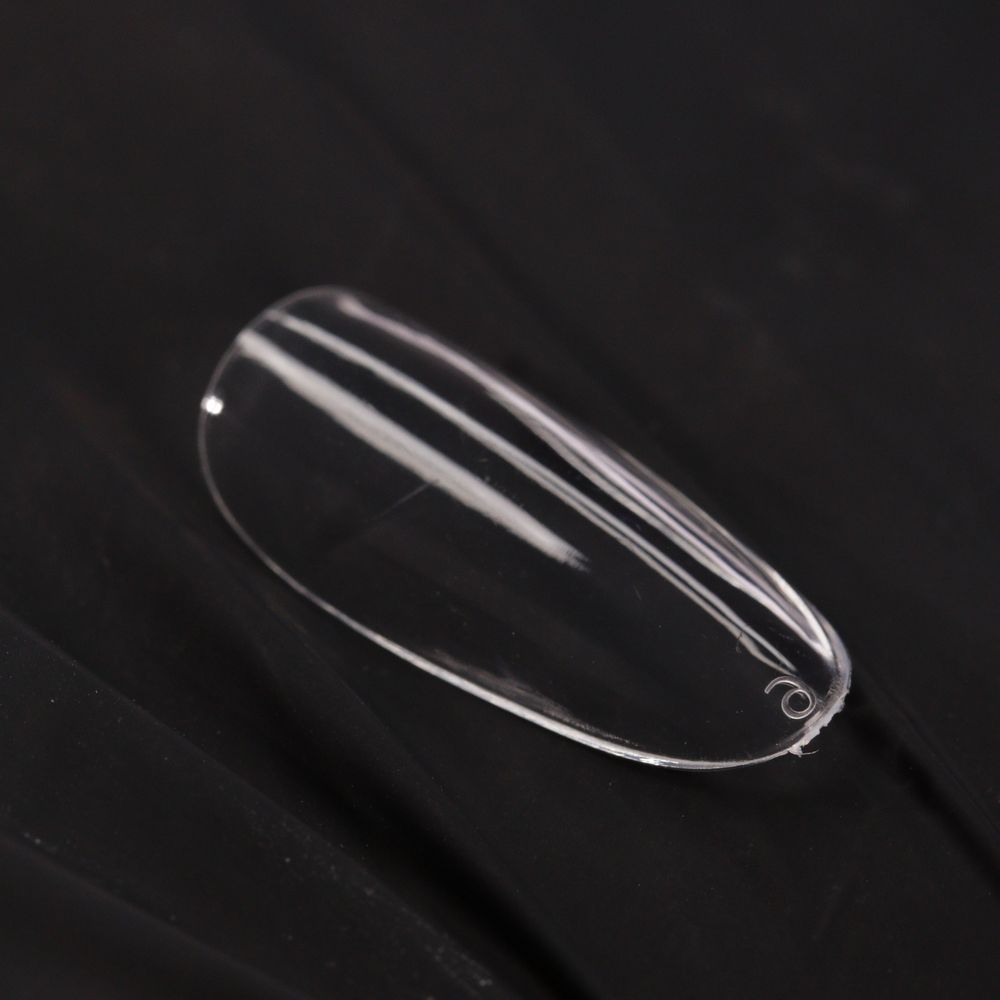
Labeling is subtle but decisive. On the underside of each pre-sized tip we add a tiny dot of fine-tipped marker or apply a micro-label on the case’s lid compartment corresponding to the client name or appointment code. For multi-client days we use color-coded sticky note flags stuck to the box divider: one color per appointment block. If we’re preparing multiple sets in advance, we store each set in an indexed disposable tray or sealable clear bag with the pink box as a reference — keeping the glossy finish intact and avoiding extra handling.
Prep Sequence
We maintain a strict prep order so the pre-sized tips require minimal work at the chair. Start by completing natural nail prep: dehydrate, bond step, and remove shine where specified. While the client reviews length choices we buff the underside edge of the pre-selected tip slightly — a light buff to the contact zone preserves the crisp glossy face while improving adhesion. For faster flow we keep a buffer and a low-abrasion pad at the tray so this brief action can be done in small batches without risking the visible gloss on the top surface.
Application Flow
With pre-sized, labeled tips ready, the application step becomes procedural: apply your chosen thin gel or adhesive to the tip base, place at a 45° angle, press forward to expel air and flash-cure while holding. Because we prepared sets in order, this sequence moves left-to-right across the hand with no sorting interruptions. The clear glossy surface of these tips shows any trapped bubble immediately, so a disciplined press-and-flash prevents rework later. After an overall cure we trim and shape to the service silhouette the client requested, again working from our pre-arranged trays to keep the tempo steady.
Hygiene And Handling
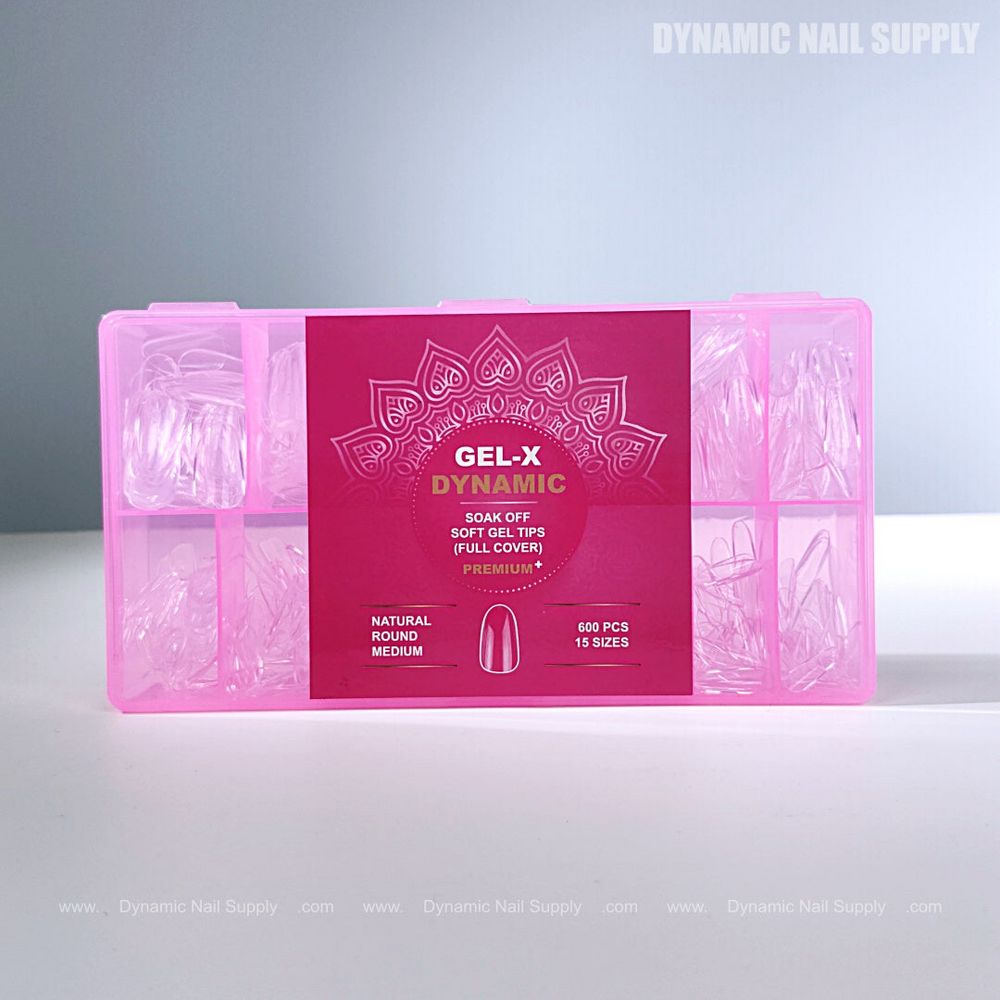
We protect the glossy finish by limiting repeated touching; gloves or sanitized forceps for tweaks reduce fingerprints on the visible surface and preserve presentation for bridal trials and photos. If a tip gets contaminated during pre-size handling we discard it — the box contains 600 pieces so we prioritize hygiene over saving a single unit. For on-site events or mobile calls we keep the pink box closed between clients and transport it flat to maintain compartment integrity.
Speed-Smart Finishing
Because the clear full-cover tips serve as a neutral canvas, we build finishing operations into stations: a color/gel arm station, a nail-art small table, and a topcoat lamp. While one hand cures, we begin color layering on the other using pre-prepped palettes; this overlap of tasks reduces idle lamp time. The Natural Round (Medium) shape needs minimal reshaping when trimmed for a natural look, so we focus on sidewall cleaning and a crisp free edge before final shine — all organized around the pre-sized tray so no time is lost fetching replacements.
Common mistake: pre-sorting every single size for one client. Over-prepping creates waste and slows the routine. Instead, we reserve full pre-sorts for predictable bookings (bridal trials, repeat clients) and use a quick secondary check for one-off appointments.
Stock Rotation And Case Care
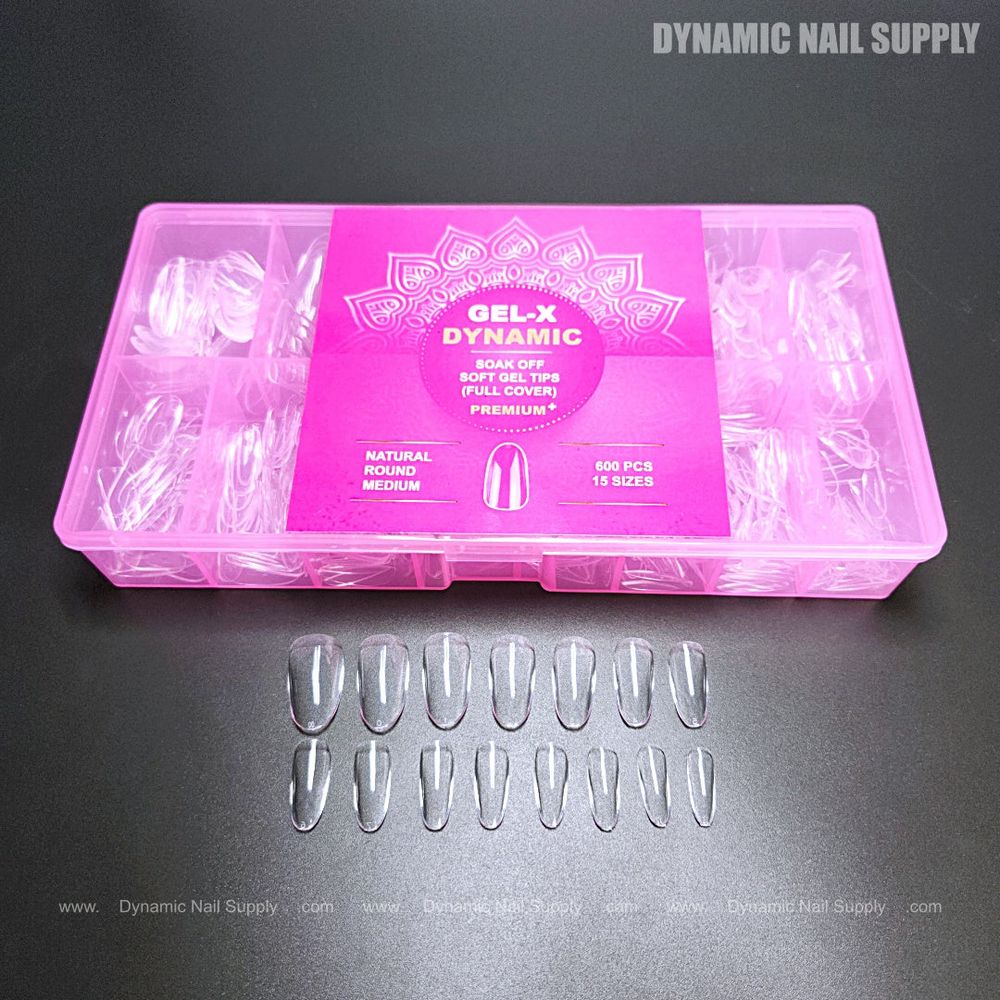
We treat the bubblegum-pink organizer as both storage and a staging tool. After a busy day we realign sizes, close the lid, and note depleted sizes so we can reorder. Avoid storing the box in direct sunlight; the bright plastic and printed magenta label retain their professional look longer when kept cool and dust-free. Because the compartments are separate, restocking a single size is quick and keeps the rest of the set ready for the next batch.
Safety And Notes
Handle these soft-gel tips gently; avoid forcing them over a nail bed that’s an obvious mismatch to prevent stress on the natural nail. Use adhesive and dehydrator products as directed and wear masks when doing bulk filing to reduce dust exposure. Dispose of any tips that fray or show cracks — prevention of lift and contamination is part of retention and client comfort.
Final Checklist
- Open pink box, verify magenta label and size map.
- Pre-select likely sizes in three-hand groups.
- Lightly buff tip contact zones; label or flag each set.
- Keep a tray for active application and one for finished sets.
- Minimize handling to protect the glossy face; discard contaminated tips.
- Rotate stock and note depleted sizes for reorder (price can vary).
- Pack and transport box flat for mobile work.
For a direct product reference and to check the exact configuration we used, see the set here: Natural Round Medium tips
