
Unexpected benefit
We begin with an angle many home manicure fans overlook: a precise stainless tool, used with a disciplined workflow, reduces accidental nicks more than any antiseptic or cream alone, because control and sequence determine outcomes. The [KBS-006] Extra Fine Manicure and Pedicure Tool Precise Tip Grooming Blades, Dry Skin — a compact, high-polish chrome scissor with extra-fine curved pointed tips — is designed for that controlled, minimal-movement approach, so we frame every step around maintaining a single, steady hand position and a clear visual plane.
Tools & prep
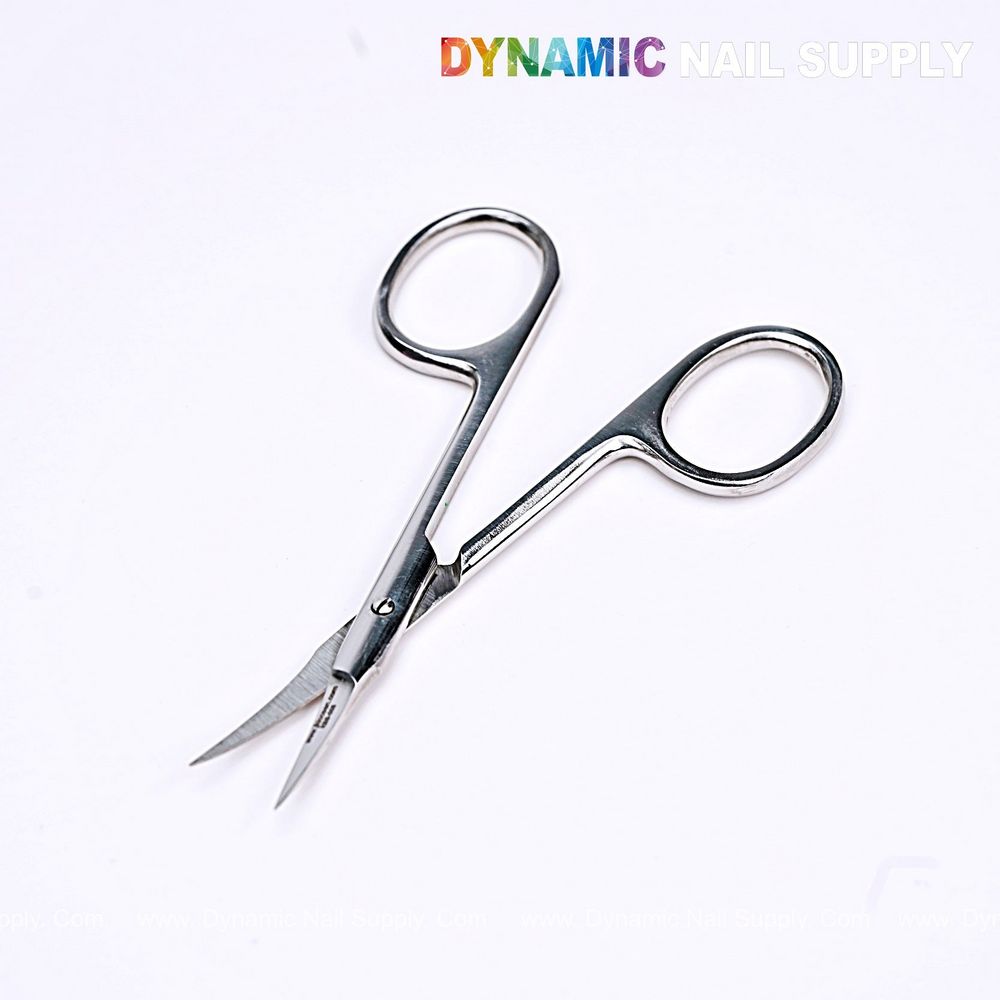
We set up a minimalist station to avoid fumble and distraction: a bright lamp, a clean white towel or disposable pad, good light, a small bowl of warm water, a soft cotton towel, and the compact silver scissors seen against a matte white background in the product shot. These extra-fine curved pointed scissors are stainless and sterilizable, so we keep an autoclaved pair or a freshly disinfected set on the tray. The scissors’ ergonomic medium-curved handles and lightweight tension make them easy to position between thumb and forefinger with minimal hand strain, and the compact 3.7-inch profile fits neatly in our manicure kit. We may note the current price is $5.99, though prices may change.
Visual check

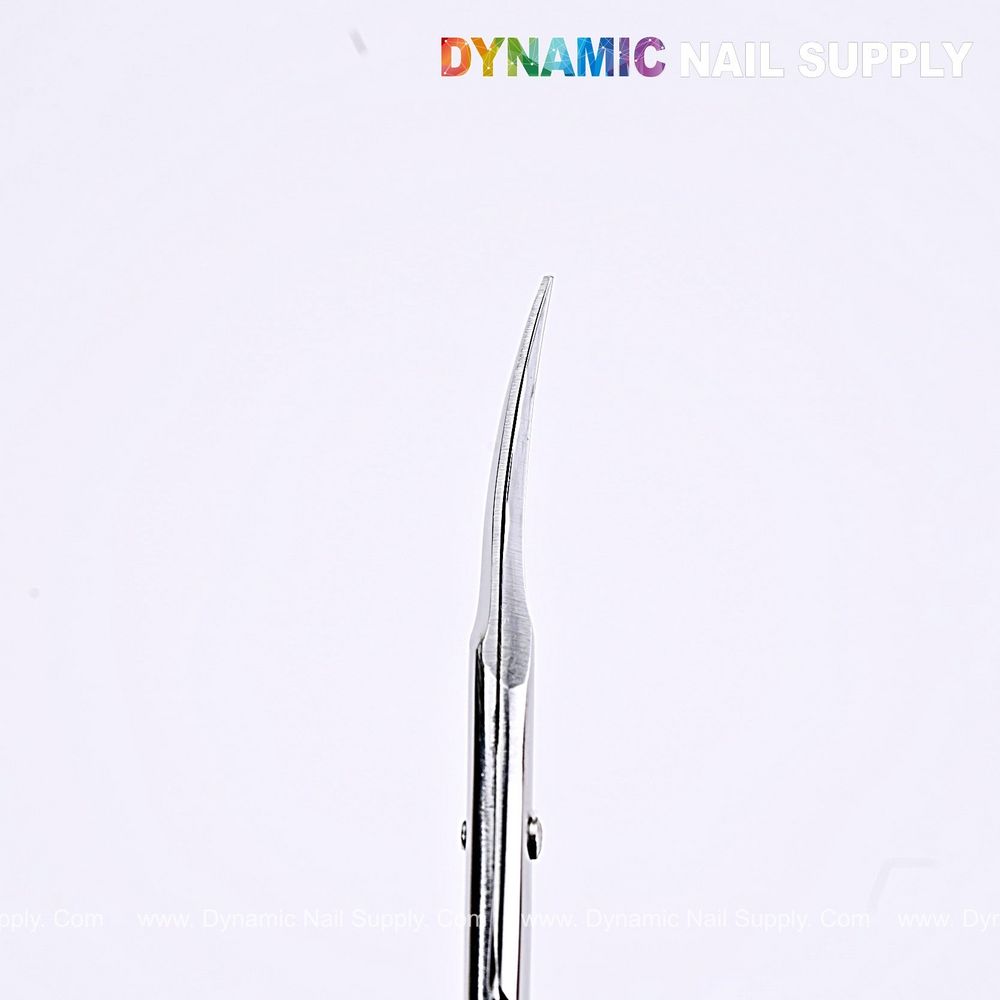
Before any cutting, we always do a visual assessment from the client’s angle and our working angle: identify the dry skin, hangnail, or small jag that sits on the proximal or lateral fold without overlapping the nail plate. The extra-fine curved tips allow us to peer close to the nail bed while keeping the blades slightly open for a single small snip rather than repeated scraping. Positioning the hand so the thumb of the working hand lifts the nearby skin slightly will create a safer cutting plane and make the pointed tip work only on the dead tissue.
Step-by-step technique
- Soften and pat. If the dry skin is rigid, brief soaking or the use of a dampened cotton wrap softens edges; we avoid over-saturating since a slightly firmer edge often separates dead skin cleanly from live tissue.
- Isolate the target. Using the non-dominant finger, we gently stretch the skin at the base or side of the nail so the junction between dead tissue and healthy cuticle is visible and taut.
- Angle the scissor. We hold the KBS-006 extra-fine curved scissors so the inner curve faces the nail plate; the curve follows the natural arc and helps us cut parallel to the cuticle line instead of toward the nail bed.
- Micro-snip, don’t shear. We aim for a single, deliberate micro-snip that removes only the lifted dead edge. The pointed tips allow pinpoint work on hangnails and tiny flaps without engaging surrounding tissue.
- Reassess between snips. After each small cut, we relax the stretch and verify no bleeding or sore spots appear; if the area resists, we stop and re-soften rather than force trimming.
- Finish with a buffer and oil. Once shaping is complete, we buff lightly to smooth any roughness and apply a cuticle oil to rehydrate the trimmed edge and make the natural barrier more resilient.
Hygiene and tool care
Because these scissors are surgical-grade stainless and fully sterilizable, our routine includes cleaning debris from the hinge, immersing in an approved disinfectant, then autoclaving or dry-heat sterilizing between clients if used professionally. For home users who share tools, we recommend at minimum thorough cleaning and a hospital-grade disinfectant wipe, and storing the polished chrome scissors in the original blue-and-gold blister pack or a clean pouch to protect the fine tips.
For compact kits and precise hangnail removal we recommend including KBS-006 extra-fine curved scissors alongside a pusher and buffer for an efficient, tidy workflow.
Common mistake:
Cutting while the skin is puckered or moving — that motion risks removing healthy tissue. We recommend stabilizing and using micro-snips.
Working ergonomics
We focus on steady hand alignment: keep the wrist neutral, anchor the little finger on the client’s finger as a guide, and use the ergonomic medium-curved handle to reduce pinch force. The high-polish chrome finish gives visual feedback in strong light, so we angle the tool to avoid glare that masks the tips; the retail photo shows the scissors slightly open against white to emphasize visibility, and we replicate that clarity in practice lighting.
When not to cut
We do not use pointed scissors on inflamed, infected, or actively bleeding tissue. If skin appears red, hot, or weeping, we pause the manicure and suggest consulting a professional. For stubborn ingrown edges that sit beneath the skin fold, we recommend a professional evaluation instead of aggressive home cutting.
Finishing polish
After trimming and oiling, we allow the cuticle oil to absorb briefly, then follow with a clear glossy topcoat or a simple buff finish for clients who prefer a natural look. The scissor’s reflective chrome suits minimalist manicures and metallic accents, so its clinical, precise aesthetic pairs with clean French lines and glossy clear topcoats.
Checklist recap
- Set up clean, well-lit station and sterilized tools
- Soften if needed; avoid over-saturating
- Isolate skin and stretch to create a clear cutting plane
- Use micro-snips with the extra-fine curved pointed tip
- Reassess between cuts and stop if tissue resists
- Clean, disinfect, sterilize, and store the scissors properly
- Apply cuticle oil and finish with polish or buff
