
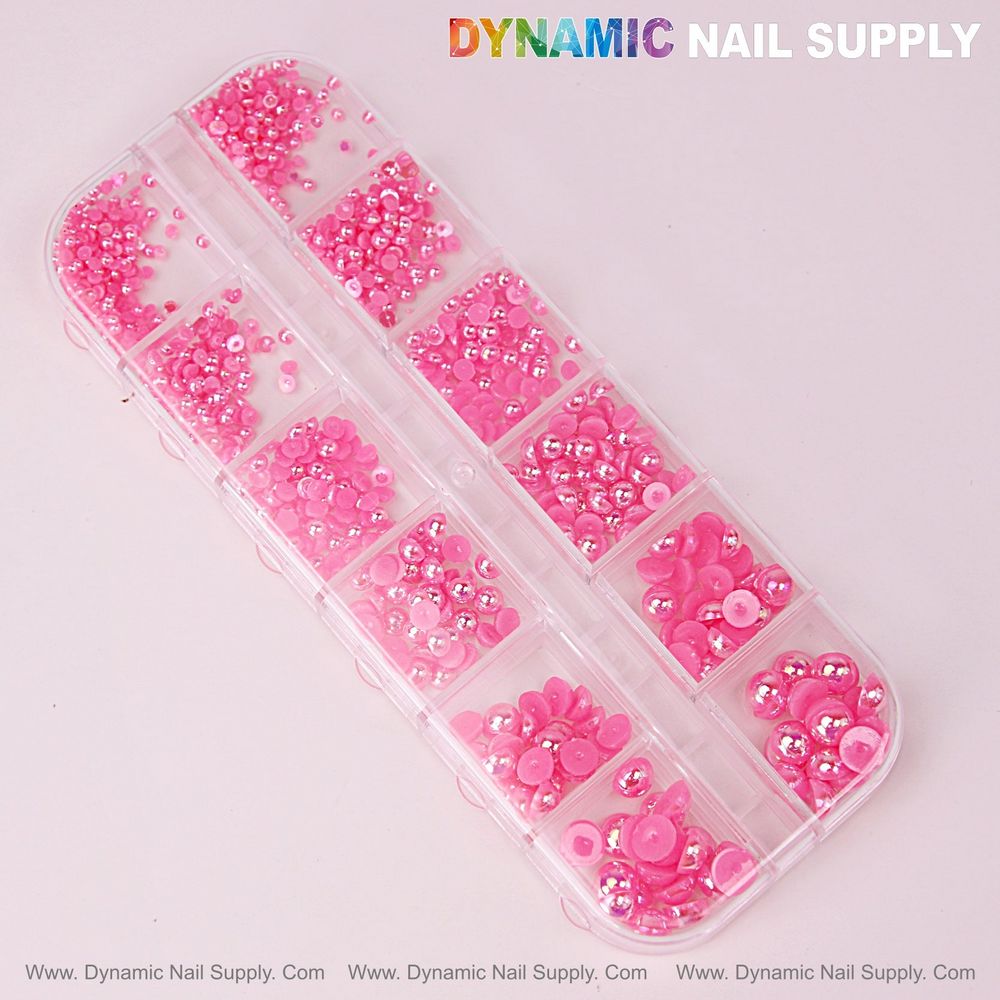
We start with an odd but useful observation: when a supply is clearly pink and uniform, it simplifies decision-making at the bench—no second-guessing about matching tones, only about placement and structure. That clarity is exactly why a Hot Pink Pearl Beads set in a 12-grid wheel becomes a time-saving secret for techs building a Kawaii-inspired full-set packed with clustered bead accents on soft pink gel bases.
Prep And Setup
We prepare for service with intention so we reduce interruptions mid-set: lay out a compartmented wheel of the Hot Pink Pearl Beads so that each size sits in its own grid, and position two identical bead sizes closest to your dominant hand for fastest pick-up. Use a shallow dish for any overflow and keep a fine wax picker and a small puddle of soak-off gel or resin within reach. A soft-pink gel base cures to a low-shine, slightly tacky layer ideal for bonding flatback beads; plan your lamps and station ergonomics so curing and picking alternate without back-and-forth movement.
Base Application
We apply a soft, semi-opaque blush or pale-pink builder gel as the foundation for this Kawaii look, extending onto the free edge where you want an exaggerated rounded tip. Maintain a thin, even architecture to avoid crowded bead placement later; remember that clusters sit higher than natural apex points, so keep the structural apex slightly lower than the final bead height to preserve strength. Cure each nail according to your product instructions, leaving a thin layer of tack when you intend to use gel resin for adhesion.
Placement Templates
To speed up placement across ten nails we rely on three proven templates that fit the Hot Pink Pearl Beads wheel’s uniform round flatback shapes:
- Mini Cluster — a triangle of three beads near the cuticle or as a corner accent on square tips, ideal for nails that need a delicate pop without much elevation.
- Micro Crown — a semi-circle row of small-to-medium beads hugging the cuticle to create a 3D faux-crown effect on accent nails.
- Scatter Trail — alternating sizes scattered diagonally from cuticle to tip, which reads as motion and is forgiving for speed work.
Arrange these templates on a paper guide at the station or mark the client’s tip edges lightly with a nonpermanent marker to keep symmetry consistent across both hands without measuring each nail.
Efficient Bead Setting
We prefer to set beads in small groups rather than one bead at a time: pick three or four beads into the wax tip, apply a small dot of builder gel or resin where they will sit, and then place the group in position before curing. This minimizes lamp trips. For stronger bonding on clustered crowns, use a low-viscosity gel as an underlayer and a slightly thicker resin around the outer beads to lock the cluster; cure in staged bursts if using a single lamp so the structure self-supports while you finish the row.
Finishing Strategy
Once clusters are secure, we seal only the surrounding bases with a thin layer of clear builder gel or a gel topcoat, avoiding coating the tops of pearlized beads if you want them to retain glossy reflective highlights. If a fully sealed look is required, encapsulate with a deliberately thin clear layer that preserves the beads’ mirrored tops. Always perform a final LED cure after sealing and then check for any loose edges; reapply a micro-dot of resin where needed and cure again.
Time-Saving Tips
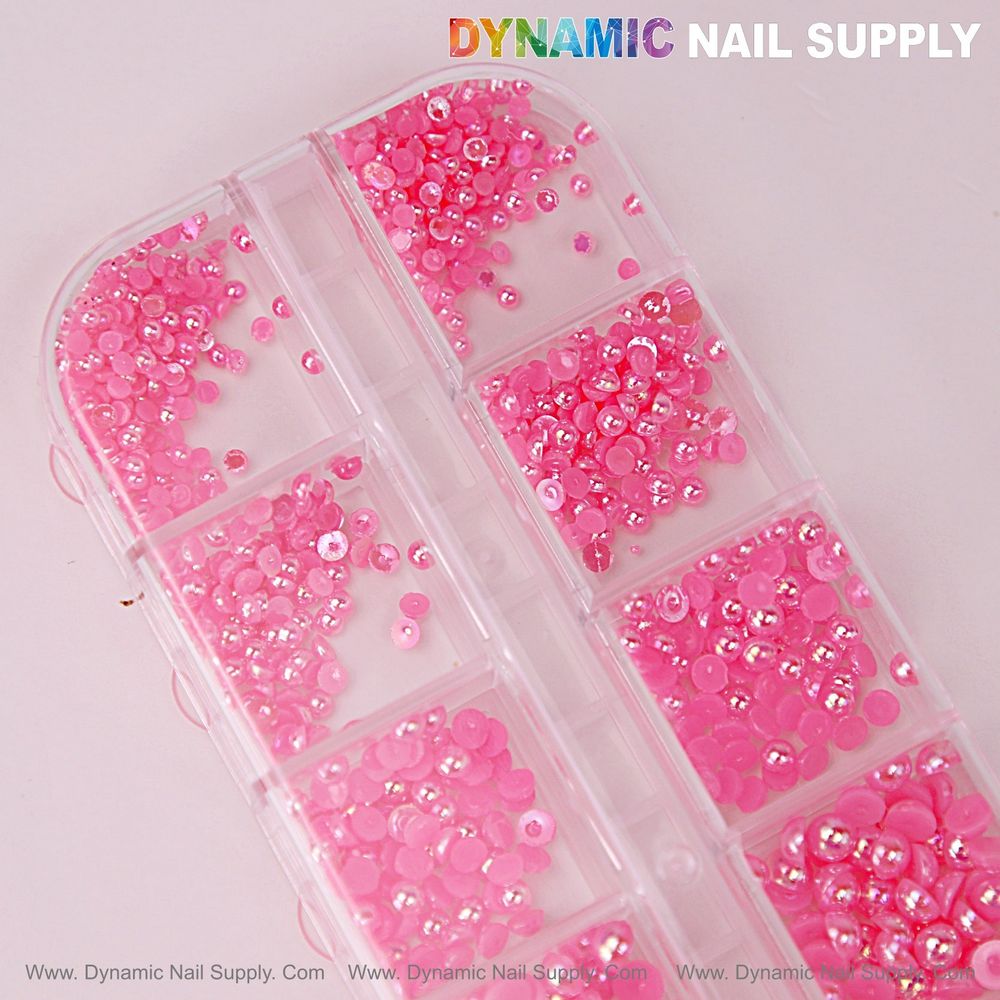
- Organize beads by size in the 12-grid wheel and place the most-used size within thumb reach for your dominant hand.
- Pre-plan which nails receive full clusters versus a single bead so you can alternate curing and placement without switching tools frequently.
- Group-placement technique: pick and place 3–4 beads at once to reduce handling steps and lamp cycles.
- Use a single thin base layer with a slightly under-cured tack to accept beads immediately, then finish with a stronger cure after all beads are set.
Common mistake:
Rushing bead quantity per nail—packing too many beads onto a thin base—leads to early lifts; we recommend balancing cluster size with base architecture and using staged curing to build height safely.
Design Notes
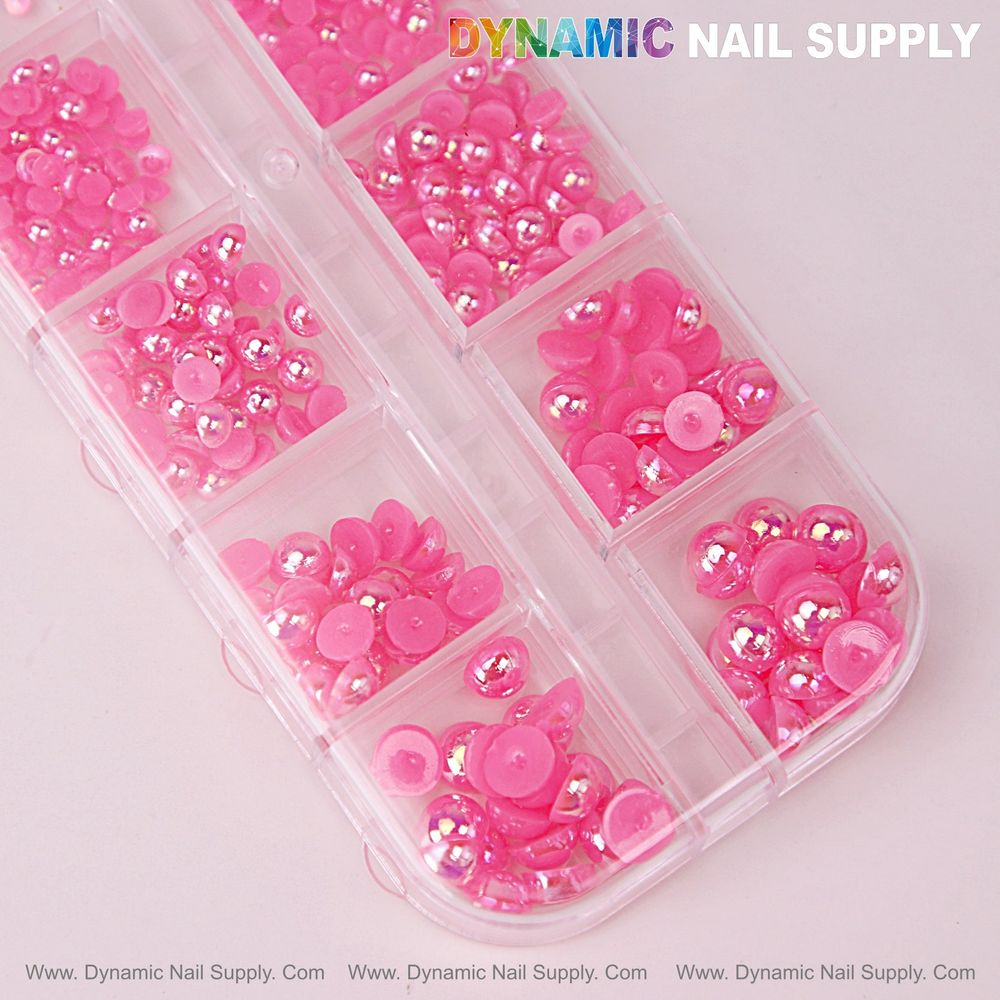
The Hot Pink Pearl Beads wheel is dominated by warm hot- and bubblegum-pink tones with silver and pearlized reflections, which reads as a cohesive feminine palette across every nail rather than a mixed-color scatter. That uniformity lets us focus on sculptural placement: kawaii sets favor overscaled round flatbacks clustered into miniature crowns or playful bubble-dot French tips that read clearly from a distance. The glossy, pearlized mirror effect on many beads becomes a design feature—leave reflective tops exposed rather than sanding or over-encapsulating if you want high-impact shine.
Client Experience
We explain the elevated feel of clustered 3D accents to clients up front, noting that the uniform pink family keeps the set visually light while still bold. For clients who favor durability, we suggest a thin, supportive base architecture and strategic placement patterns that avoid constant friction zones. Remind clients that the small round flatback shapes are decorative and should be treated as adornments rather than load-bearing structures.
Safety And Care
These are small plastic pearlized beads: keep them away from young children and do not allow inhalation of dust if you file near clusters. When removing, advise soaking or professional filing to avoid prying beads off, which can stress the natural nail.
Service Pricing And Notes
We price services based on cluster complexity and time; a single 12-grid wheel of Hot Pink Pearl Beads is affordably priced at $5.99 but prices may change. Factor in placement labor when quoting a kawaii full-set so your chair time and materials both reflect the 3D embellishment work.
Checklist Recap
- Station: 12-grid bead wheel, wax picker, resin, lamp
- Base: thin soft-pink gel with controlled apex
- Templates: Mini Cluster, Micro Crown, Scatter Trail
- Placement: group beads, staged curing, avoid overpacking
- Finish: seal surrounding base, preserve reflective tops
- Care: advise gentle wear and professional removal
For a supply match to this workflow, consider the Hot Pink Pearl Beads set for consistent pink tones and mixed sizes that speed layout and choice: https://dynamicnailsupply.com/products/12-grid-hot-pink-pearl-beads-nail-charms-mixed-sizes-round-flatback-stones-diy-designs
