
Unexpectedly, a little bridal restraint helps sell Halloween luxury: a glossy black canvas, a whisper of champagne sparkle and a tiny gold spider read more luxe than loud, and the 20 pcs Gold and Spider DIY Seasonal Charm is built for exactly that restrained statement. We’ll walk through a salon-friendly sequence that keeps steps tidy, repeatable, and friendly for home DIYers who want a luxe seasonal accent without fuss.
Design Intent
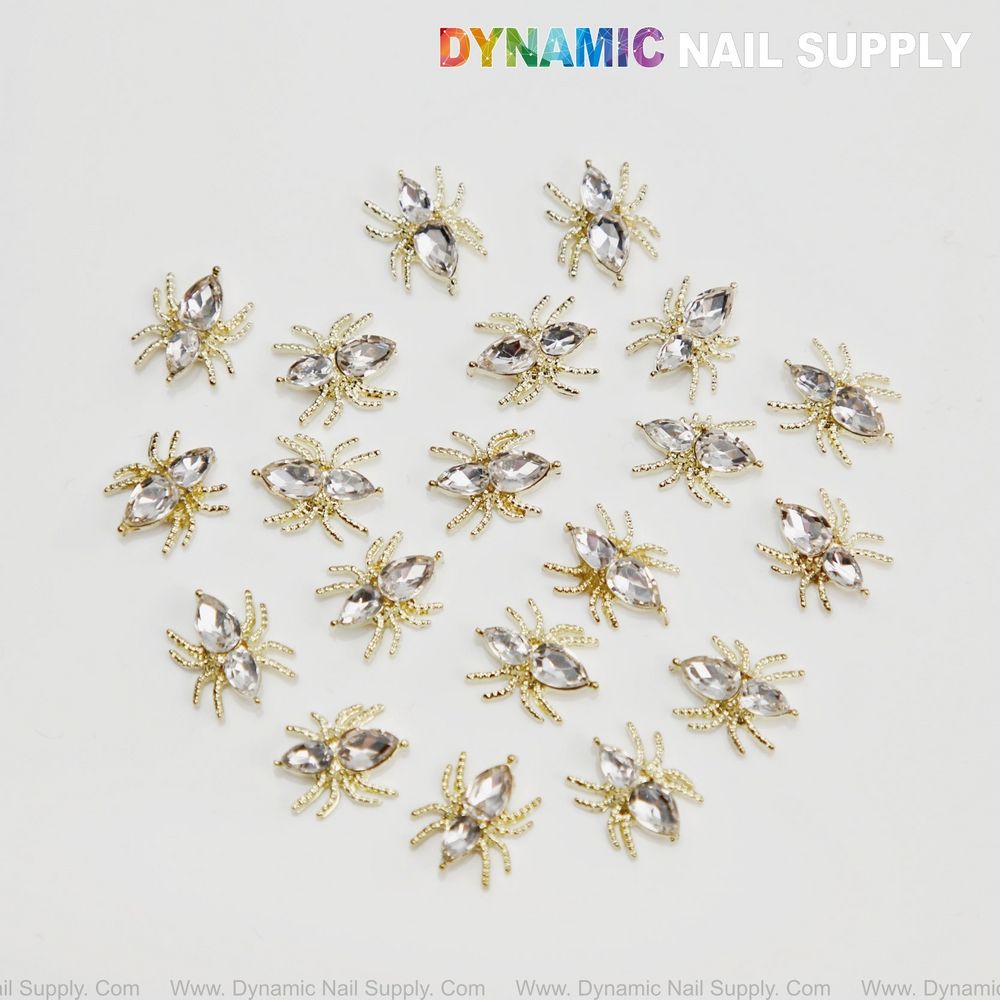
Our intention is clear: a deep glossy black or rich plum base that reads like eveningwear, punctuated by single, jewel-like spider accents crafted from clear faceted crystals and textured gold legs. The set’s identity—20 pcs Gold and Spider DIY Seasonal Charm—lets us plan multiple accents across a full set or reserve one spider as a ring-finger focal. The look balances gothic contrast and champagne-reflective gems for a modern, bridal-friendly Halloween statement.
Prep Routine
We begin with a consistent prep that supports adhesion and prevents extra rework later: clean, dehydrate, push cuticles and lightly buff the nail plate to remove shine where you’ll bond. For natural nails we use a thin base layer to promote leveling; for enhancements we ensure a flat glossy finish to accept 3D pieces. If you need the product page while you gather supplies, see 20 pcs Gold Spider Charms for the exact charm set we use.
Base Build
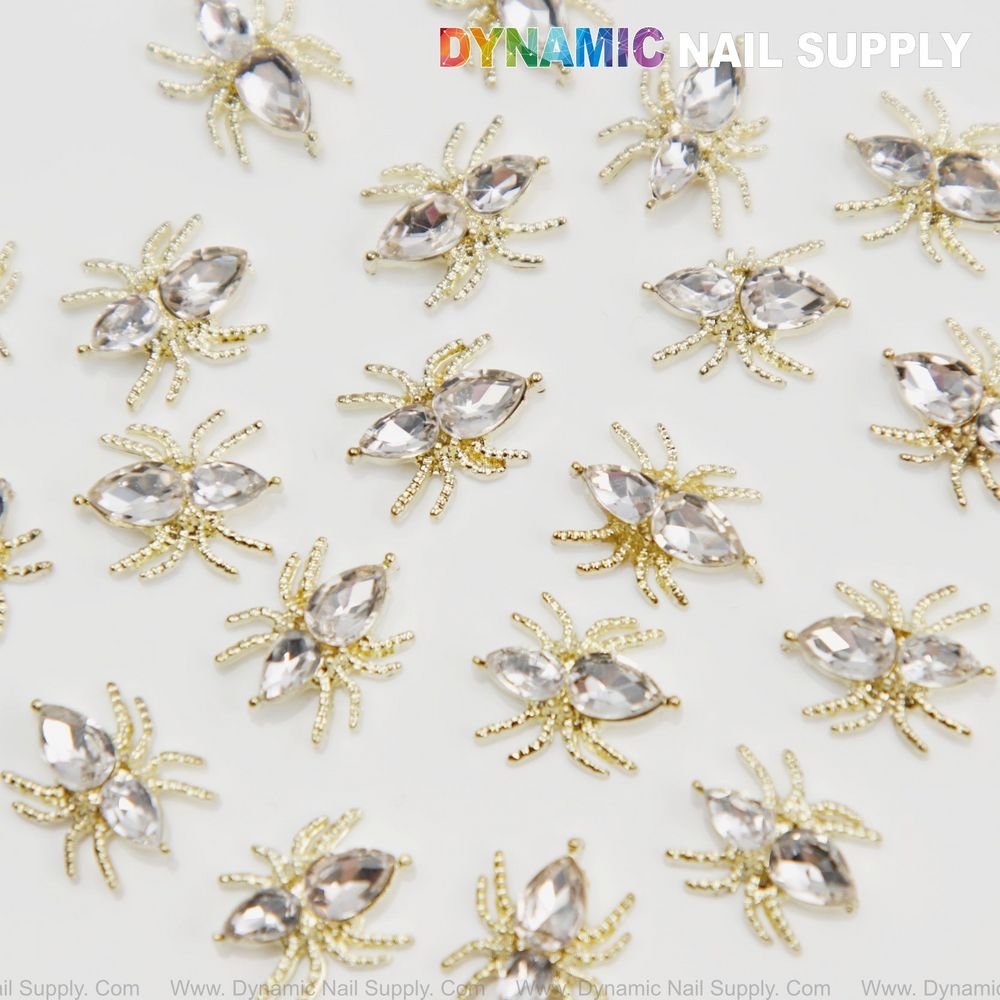
Choose either a high-gloss black gel or a saturated deep purple cured to a glossy finish; the goal is a reflective backdrop so the clear crystals read as champagne flashes rather than colored stones. Apply two even thin coats rather than one heavy coat so the surface stays smooth and flat for charm placement. If you prefer a softer contrast for a bridal client, pair a nude-to-champagne base with black tips and reserve spiders as single-ring-finger accents.
Placement Strategy
Small metal charms read delicate when they have negative space around them, so plan for single accents rather than dense clusters. Our reliable placements are: near the cuticle on an accent nail for a classic focal point; slightly off-center along the free edge for high-contrast drama; or one spider per nail on negative-space designs for minimalist sparkle. Because these pieces use two marquise/pear-shaped crystals to form the spider body, orient the longer axis along the nail’s natural length for visual elongation.
Adhesive & Securing
We layer strategy so the charm stays while remaining comfortable. First, place a small drop of builder gel or a bead of thick crystal adhesive where the charm will sit, then set the spider into position using a curved-point tweezers. Press gently so the textured beaded gold legs settle into the adhesive; the faceted crystals should remain exposed. Cure under an LED lamp if using builder gel. After the initial tack set, encapsulate with a thin layer of clear gel or a gloss topcoat around—but not over—the highest points to preserve the jewel-like sparkle while locking the base of the charm. If you must cover the top completely for high durability, use a clear hard gel cap applied thinly and filed to blend, taking care to keep the crystal facets clear.
Common mistake: applying a thick glob of adhesive under the entire charm so light can’t reach crystal facets; instead, use a low profile bond beneath the legs and keep the gems exposed for maximum sparkle.
Finish Options
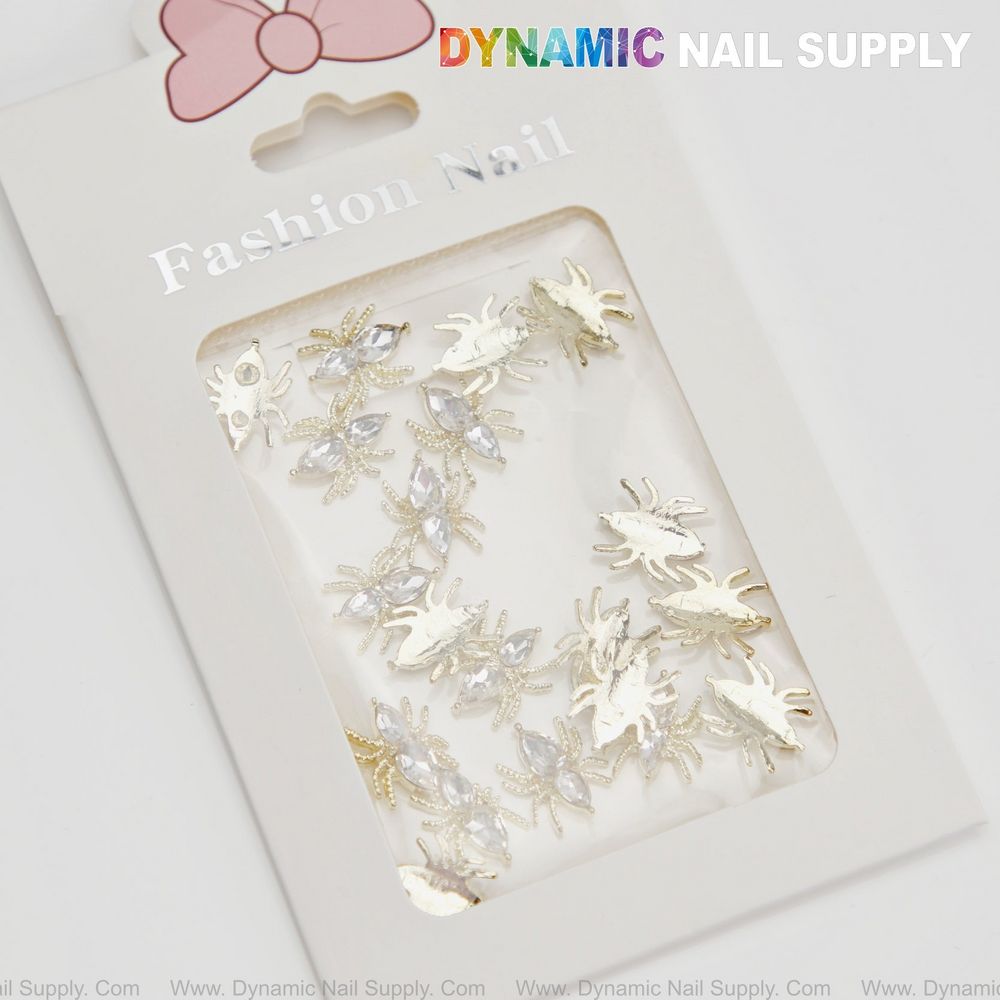
We prefer three finishes, each with a different service flow: full glossy encapsulate for long wear, light edge-seal gloss for a delicate raised look, or matte surrounding finish with the charm left glossy for a contrast that photographs dramatically. Each finish requires a different sealing sequence—plan accordingly so you do not have to redo adhesive steps mid-service.
Photo & Styling Notes
Glossy black or deep purple backgrounds read richer in photos; position light to catch the pale champagne reflections in the clear stones. For salon presentation, use one of the extra spiders as a sample on a tip-display card so clients can see scale and sparkle beside their chosen base color.
Safety & Handling
Handle the tiny spiders with precision tools; the textured beaded gold plating has delicate legs that bend if gripped hard. Keep magnets and strong impact away during application. Store the set in a small container to avoid bending or loss—these small gold-and-clear pieces are easy to misplace.
Service Flow Tips
- Prep all nails and apply base coats to the entire set before charm work.
- While base cures, layout the 20 spiders you’ll use and choose placements—this saves chair time and decision fatigue.
- Apply adhesive and set charms one nail at a time with immediate curing to lock position.
- Finish with chosen seal and final cure, then lightly buff edges if you encapsulated hard gel.
We recommend keeping one extra charm per client as a touch-up spare; the set includes multiple identical pieces so you can match scale and style across hands. Price is modest and may change, so check current listing for budgeting.
Checklist Recap
- Design intent: glossy black or deep purple with champagne crystal spiders.
- Prep: clean, dehydrate, light buff.
- Base: thin even coats for a flat canvas.
- Placement: single accents, orient along nail length.
- Secure: low-profile adhesive under legs, cure, then thin encapsulate.
- Finish: choose glossy, sealed, or matte contrast.
- Storage: keep spare charms in a small container for touch-ups.
20 pcs Gold Spider Charms
