
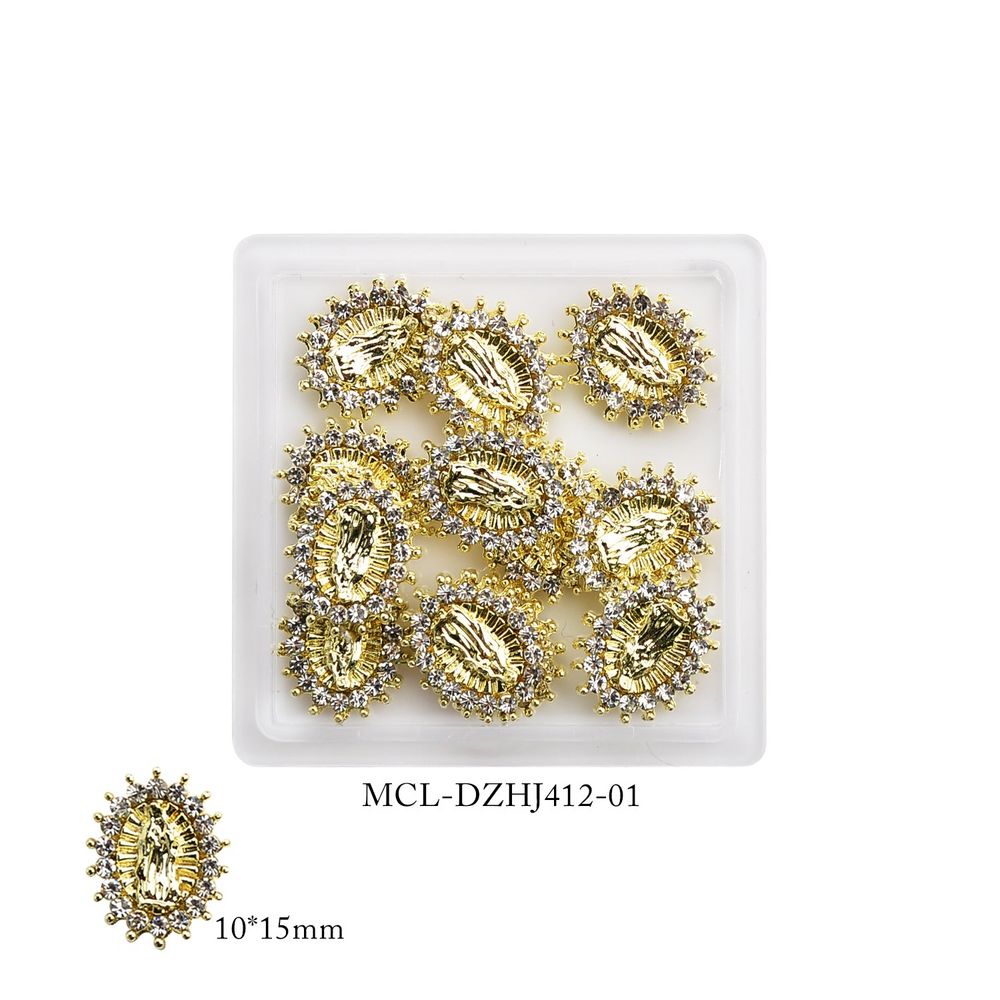
Unexpectedly, securing a tiny metal religious medal to a sheer bridal tip is as much about choreography as it is about materials; when we work with the (Small version) 12 pcs bag Virgin Mary charms for Religious nails design we plan a concise sequence so each 10×15mm piece sits flat, glittering, and resistant to lifting without adding unnecessary steps.
Prep Surface
We begin by preparing the natural or enhancement surface with the same care we give a focal jewel: remove surface oils, file for a clean bond zone, and use a pH-balanced dehydrator. For sheer or neutral bridal bases we lightly buff the gloss layer where the charm will sit to create mechanical grip, then wipe with a lint-free pad. This step reduces slippage and helps any adhesive achieve full contact across the small raised back of the charm.
Adhesive Choice
Choosing adhesive is the pivot in our workflow. For the small metallic Virgin Mary charms—each with a raised relief and a faceted center stone—we prefer a thick, gel-like resin adhesive when extra working time is needed, and a fast-setting nail glue for straightforward placements on fully cured gels. We select adhesives that are formulated for metal embellishments and that will cure with light if specified by the product; otherwise we use cyanoacrylate glues sparingly. Using too much adhesive is a common route to lifting, so we apply a controlled bead to the nail, not to the charm itself.
Common mistake: Drowning the charm in glue. Excess adhesive squeezes out and creates a weak, uneven bond; it also interferes with topcoat adhesion.
Placement Tools
Working at scale with twelve matching charms in a set, we use precision tools to speed placement without sacrificing control: a fine-point pick-up tool for initial positioning, a silicon-tipped tweezers for final micro-adjustments, and a curved push stick to press the charm into position while keeping glue away from the surrounding skin. We arrange tools ergonomically on a small tray so each movement flows into the next, avoiding repeated handshakes that can unsettle a wet bond.
Set And Cure
Our curing routine depends on the adhesive. With light-activated gel adhesives we press the charm into place, hold steady with the silicon dowel, then cure for the manufacturer’s recommended time to achieve full cross-linking. For CA-style glues we hold the charm until the initial tack sets and then avoid stressing the finger for a short window. If the charm has a textured underside from the raised Virgin figure, we apply gentle, even pressure across the entire piece so the adhesive flows into micro-crevices and creates a broader contact area.
Finishing Layer
To lock the perimeter and blend the charm into the manicure while keeping the ornament’s low profile, we encapsulate the edge with a thin layer of builder gel or a reinforced topcoat, feathering the product up to the charm without covering the face of the medal. This creates a fillet that resists shear and prevents edges from catching on fabric. We cure the fillet thoroughly and remove any inhibition layer before advising the client on immediate aftercare.
01. Gold – Crystal Stones
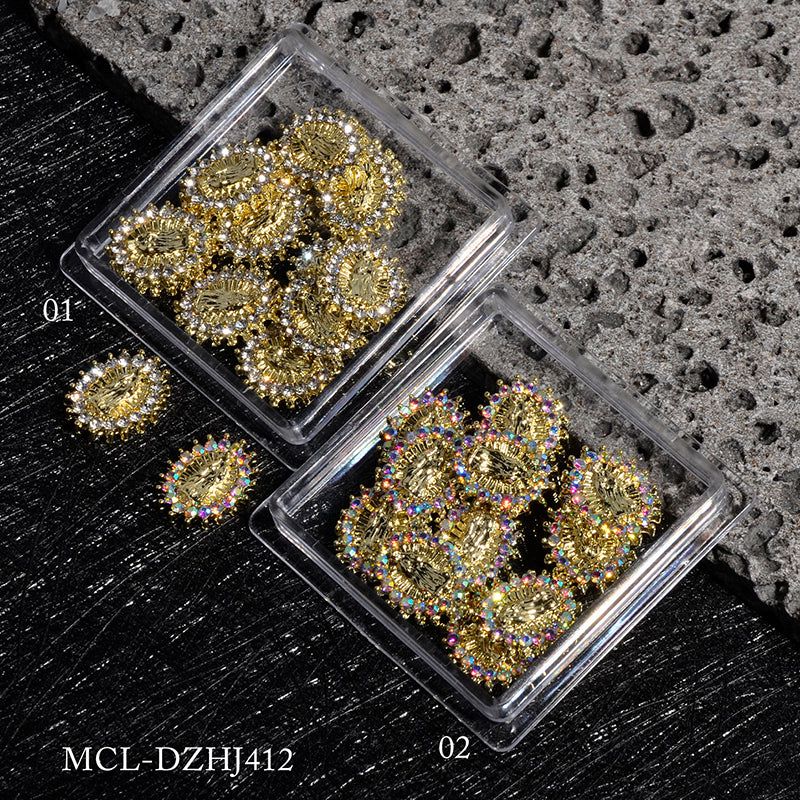
When we work with the “01. Gold – Crystal Stones” option from the set—yellow gold metal with clear faceted stones rimmed by tiny round crystals—the warm metal pairs best with neutral bridal bases and baroque accents. The clear stones reflect the surrounding polish, so our fillet is deliberately thin to maintain sparkle. Because the raised Virgin figure and baguette-style center concentrate pressure points at the charm’s back, we pay special attention to adhesive distribution: a narrow bead placed on the nail bed under the central relief, plus two tiny dots toward each edge, ensures even support without affecting the medal’s reflective face.
Longevity Tips
- Match adhesive viscosity to the charm’s underside—thicker for textured backs, thinner for flat backs.
- Keep the charm’s face clean during placement; fingerprints reduce aesthetic impact and can interfere with any surrounding topcoat adhesion.
- Avoid heavy manicuring tools near the charm after placement; use the cured fillet to absorb routine wear rather than the glue bond alone.
Small-Part Safety
These small metallic charms are decorative accents and should be kept away from young children and pets. When trimming or filing near a charm, wear eye protection to avoid tiny metal fragments, and dispose of single-use adhesive items safely. If you sell or gift sets, include a brief caution that charms are not toys.
Common mistake:
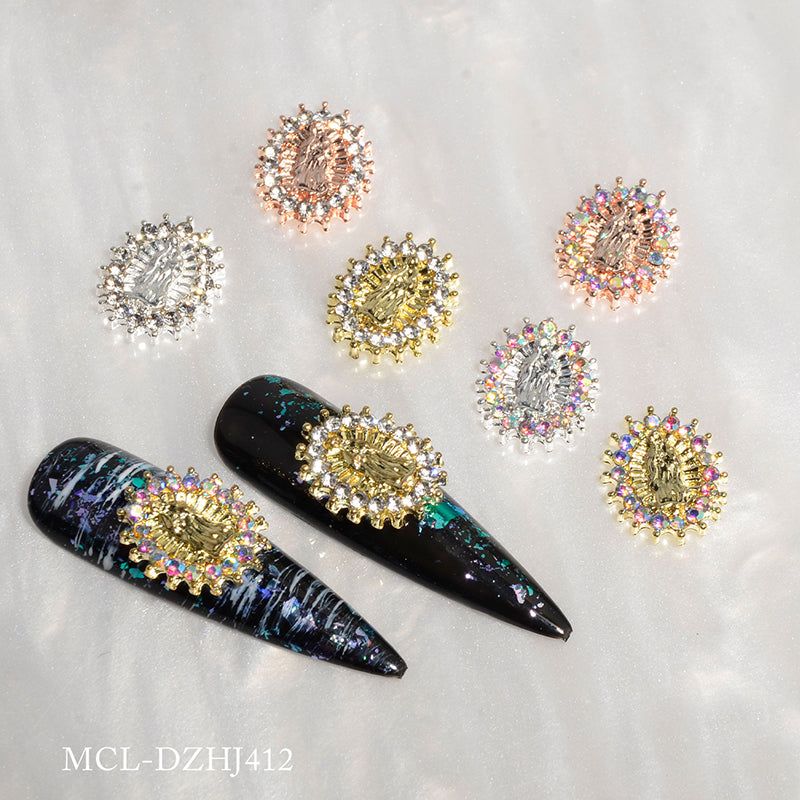
Common mistake: Skipping the thin fillet. Leaving the charm edge exposed invites snags that lift the whole piece; a subtle encapsulation preserves shine while protecting the bond.
For home users attempting bridal or festival looks, we advise working on one hand at a time, placing the dominant-hand charms first so the non-dominant hand can rest while initial bonds set; this small sequence cut down on fumbled placements and rework.
Checklist Recap
- Prep: dehydrate, buff, clean contact zone
- Adhesive: choose viscosity for the charm back
- Placement: use precision pick-up and silicon press tools
- Cure: follow adhesive type and hold steady until set
- Finish: thin fillet of builder gel or reinforced topcoat
- Safety: keep small parts away from children and wear eye protection when necessary
We include these small Virgin Mary charms as a coordinated 12-piece set with metallic finishes in gold, silver, and rose-gold paired with clear or AB iridescent rhinestones; the set is a focused option when we need a uniform, glamorous accent. Prices may change but this style typically retails near $5.99; if you want the precise set shown in our workflow, consider the 12-piece small design when planning a bridal or statement manicure.
For a consistent, long-lasting bridal accent choose the 12 pcs Virgin Mary charms in the metal and stone trim that complements your base and follow our workflow to 12 pcs Virgin Mary charms.
