
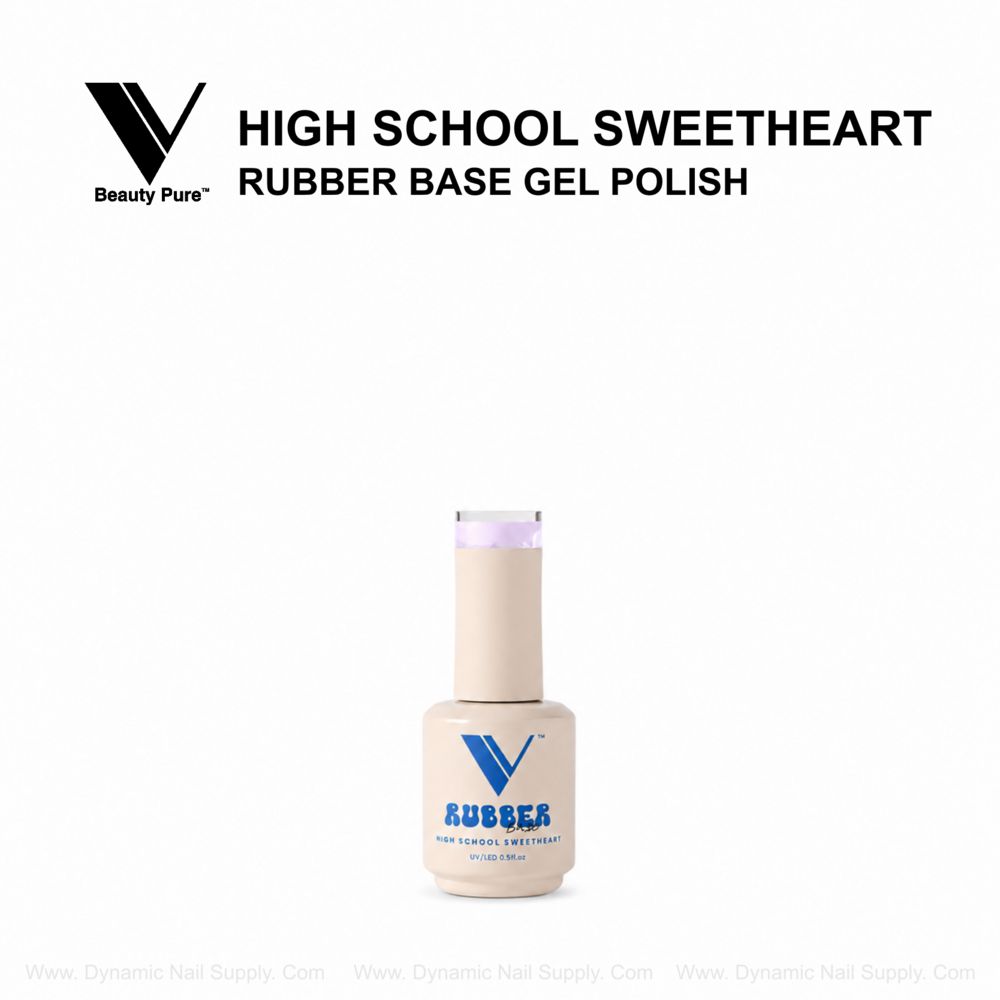
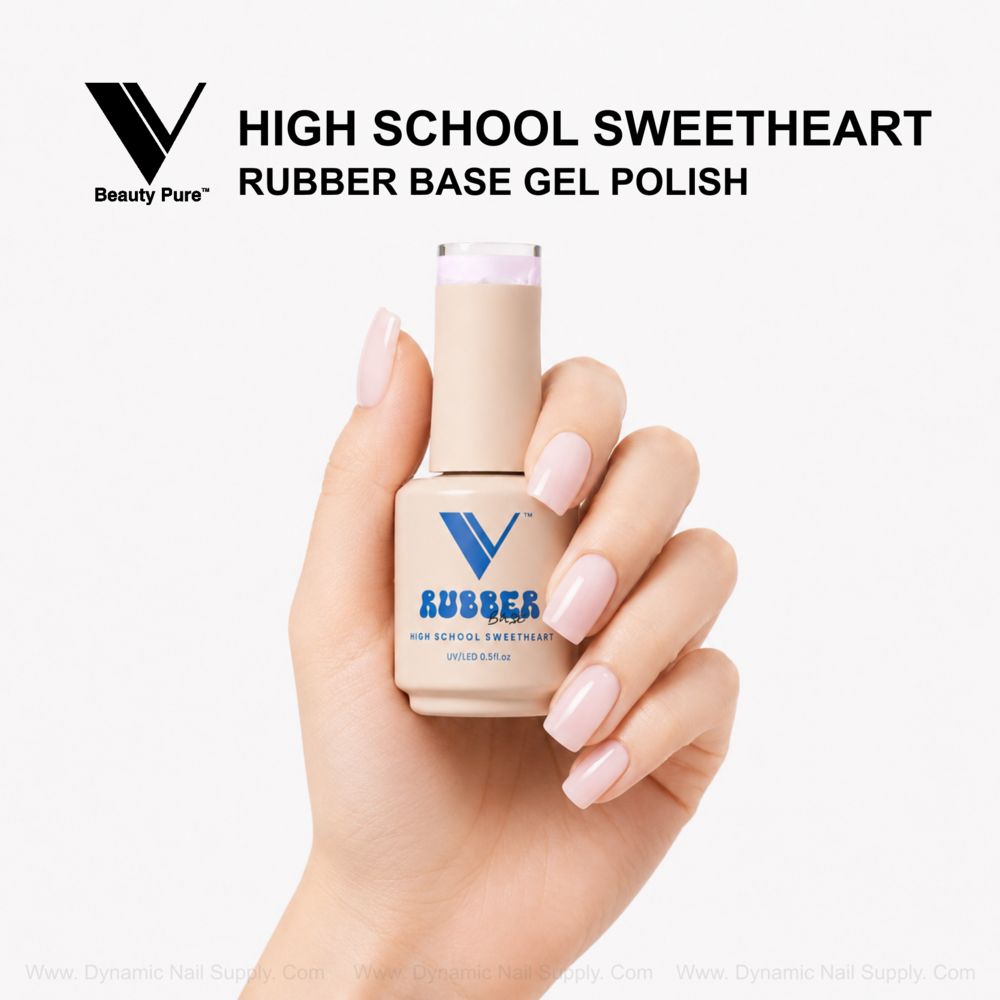
We begin with an offbeat assumption: the simplest manicure often creates the strongest impression, and a nearly translucent baby-pink foundation paired with one precise lavender line or dot will read cleaner and more deliberate than a crowded design. In this workflow we use High School Sweetheart — a soft baby-pink rubber base — as the service anchor, then add a tiny soft lavender accent that matches the cap rim detail from the bottle so the whole look feels intentionally coordinated rather than accidental.
Prep Routine
Our approach starts with a controlled prep that sets up predictable adhesion and minimal filing. Remove any old product, gently push back cuticles, and lightly buff the nail plate to remove shine; we keep abrasion light so the flexible base can move with the natural nail later. Wipe each nail with a lint-free wipe and an appropriate cleanser, then apply a thin, even primer only where recommended for the client—sparing use helps maintain the natural finish we want with High School Sweetheart.
Base Application
We work wet-to-wet and apply one to two thin coats of High School Sweetheart, allowing the product’s self-leveling quality to create a smooth, glossy canvas without heavy filing. Apply from cuticle to free edge in three small strokes to avoid pooling, capping the free edge to reduce lift, then cure under LED for the specified time. Because this gel has a delicate, almost translucent pink, it reads natural on short nails and provides subtle coverage when worn alone or as a foundation beneath color or nail art.
Accent Placement
Deciding where to place the lavender accent defines whether the manicure feels editorial or quietly wearable. For minimalist lavender accent nails we favor one of three placements: a single vertical micro-stripe near the cuticle, a tiny dot off-center toward the free edge, or a micro French stripe on just one finger for asymmetry. Use a 00 liner brush or a micro dotting tool for control; the lavender pigment should match the cap rim on the bottle for a coordinated, intentional detail.
Brushes & Tools
Choose tools that let you work precisely: a fine 00 liner or an angled brush for single-stroke lines, and a 1.0–1.5 mm dotting tool for tiny spots. Keep a small flat palette or glass tile handy to dilute the lavender with a drop of base if you need a more translucent tone. We recommend thin product loads on the brush so the accent cures cleanly without thick ridges that need filing later.
Application Tips
For a lavender stripe: load the liner brush sparingly, anchor your hand, and pull one confident stroke from cuticle outward without reloading the brush. For a dot: touch with a light, controlled press and lift immediately. If you prefer negative-space accents, place the detail off-center and avoid surrounding it with additional color—less is the point. Cure each accent promptly to prevent smudging, then inspect under good light for evenness.
Finish & Gloss
Seal the look with a thin, high-gloss topcoat to enhance the smooth reflections visible in the product imagery and to protect the delicate lavender mark. Because the base already provides a glossy, creamy lacquer-like finish, a single topcoat is usually sufficient. Cure as directed, then remove any inhibition layer if the topcoat requires it. The final result should read clean and polished with that clear, reflective shine you see on professional gallery nails.
Common mistake:
Applying the lavender too thickly so it becomes a raised ridge that disrupts the minimalist intent; keep details micro and cured thin.
Salon Flow Tips
We slot this service into a standard 30–45 minute light-service rotation by keeping steps economical: focused prep, one efficient base coat, a single micro accent per hand, and one topcoat. Set up two stations if possible—one for prep and base application, the other for accent and finishing—to avoid tool overlap and reduce client waiting. Use a small palette for accent mixing so you can switch shades quickly without breaking concentration.
At-Home Adaptation
Home DIY fans can replicate this look with a minimal kit: a fine liner or toothpick for the stripe, a small dotting tool, and a reliable LED lamp. Work in good light, cure each step fully, and keep product loads light. If you prefer a subtler lavender, mix a touch of the lavender pigment with a thin layer of High School Sweetheart on a palette to create a whisper of color that aligns with the bottle’s lavender rim detail.
Care & Removal
Because High School Sweetheart is a soak-off rubber base, removal follows standard soak-off steps: file the shine, soak with the appropriate remover under foil, and gently push off softened product. Advise clients to avoid aggressive peeling and to treat nails with a nourishing oil after removal to maintain nail health between services. Keep tools clean and disinfected between clients to preserve a tidy workflow.
Photo-Ready Notes
For social images, show the contrast between the baby-pink base and the discreet lavender accent by photographing under soft, even light to capture the high-gloss reflections and the subtle lavender rim accent on the bottle. Minimal sets and neutral backgrounds keep the focus on the manicure’s clean lines and delicate palette.
To review or stock the exact product we use for this routine, see the item we recommend here: High School Sweetheart base
Checklist recap
- Prep lightly and remove shine.
- Apply one to two thin coats of High School Sweetheart.
- Use a 00 liner or small dotting tool for lavender accents.
- Cure accents immediately and finish with a thin glossy topcoat.
- Soak off gently and nourish nails after removal.
