
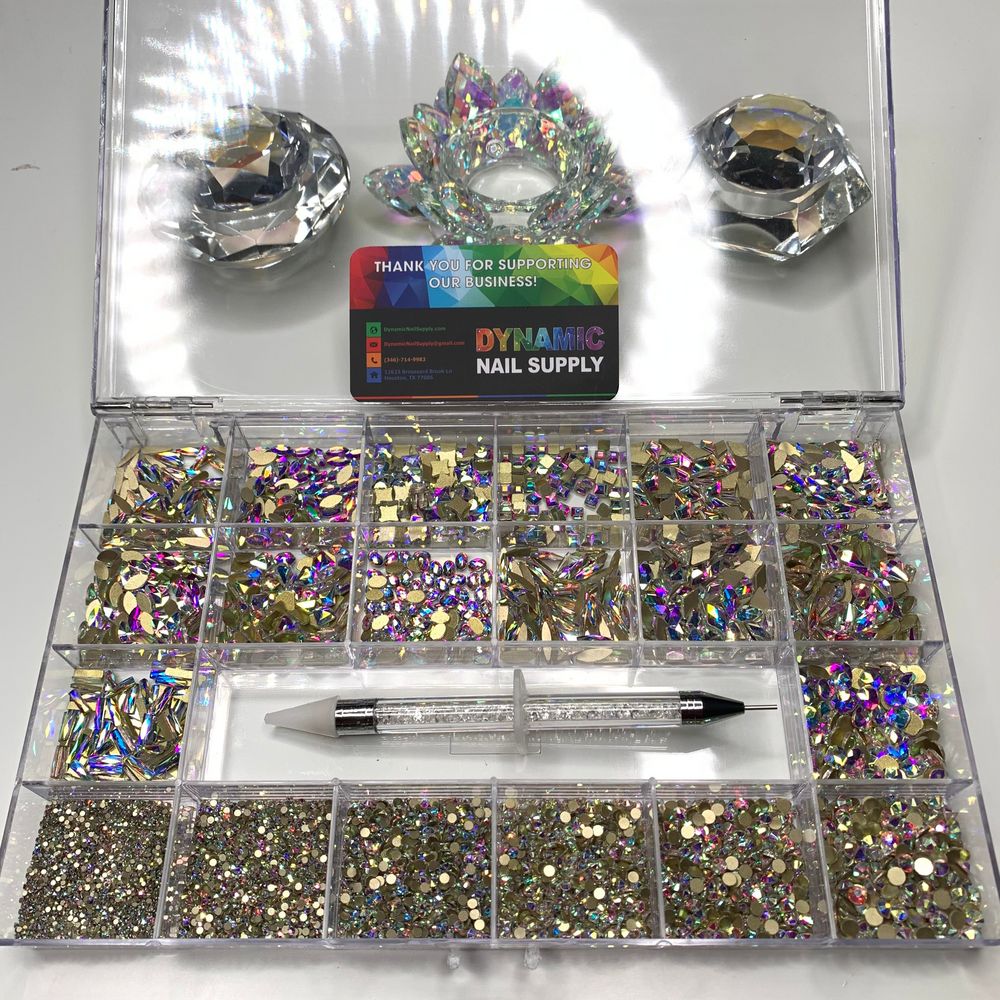
AB crystal rhinestones add instant sparkle to manicures, from simple accents to full-blown statement nails. If you’re new to nail embellishments, the variety and volume in a multi-shape set can feel overwhelming. This guide breaks the process into clear steps and explains the kit contents so you can start creating clean, durable designs today.
Before we get hands-on, note what this particular set contains and why those pieces matter for beginners: AB crystal rhinestones kit. The kit is also offered at a promotional price of $65 while supplies last.
What’s included and why it matters
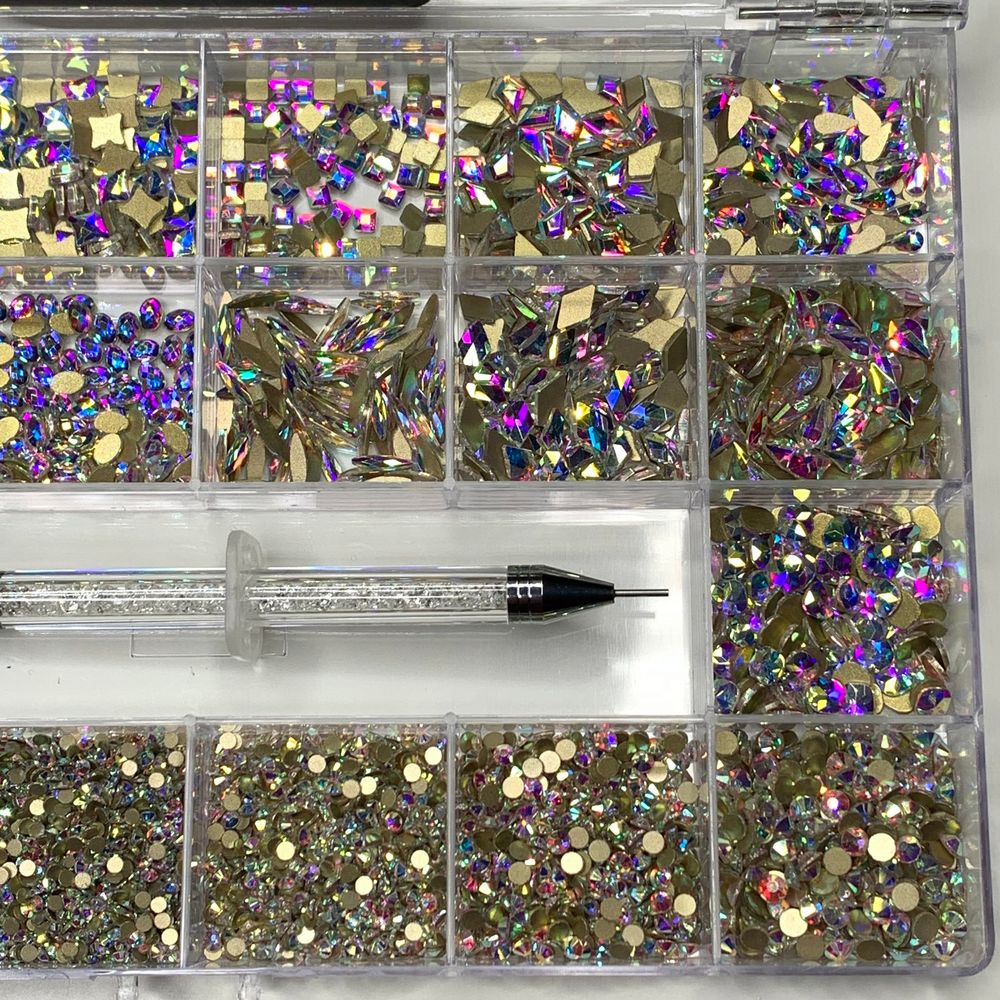
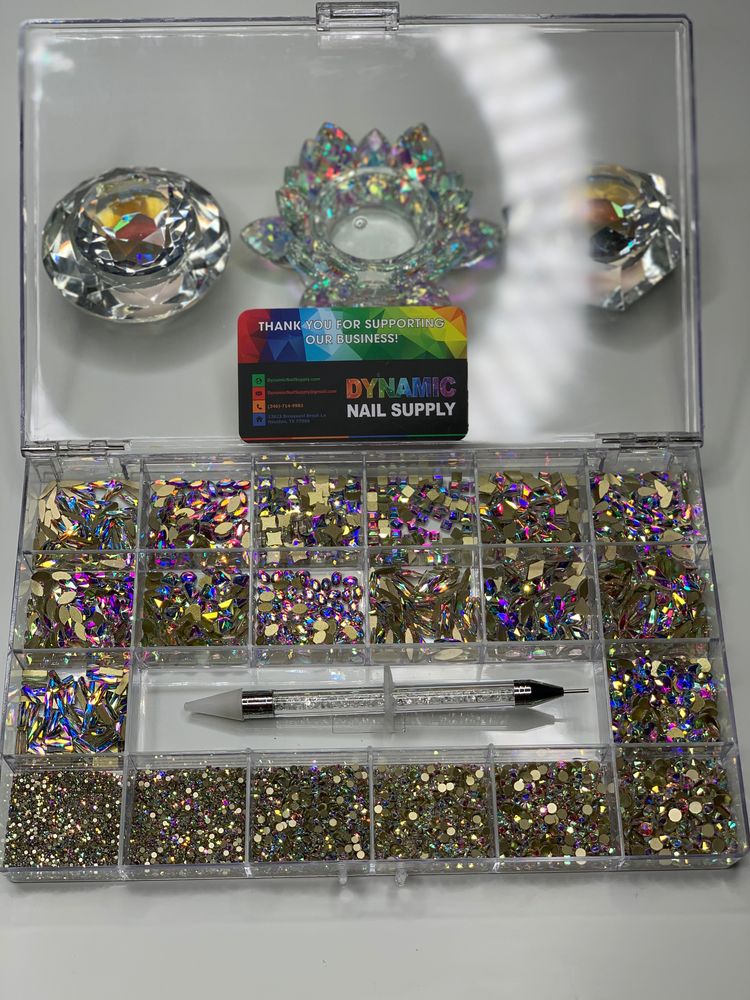
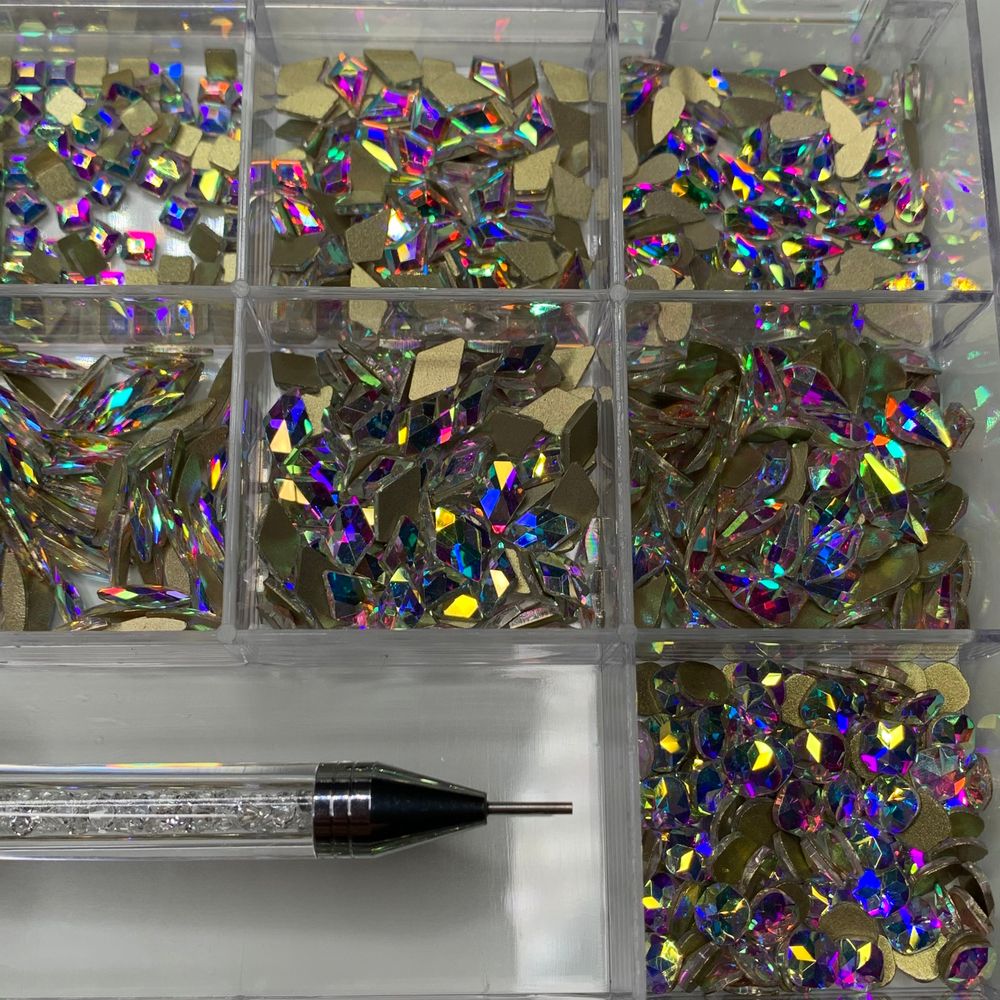
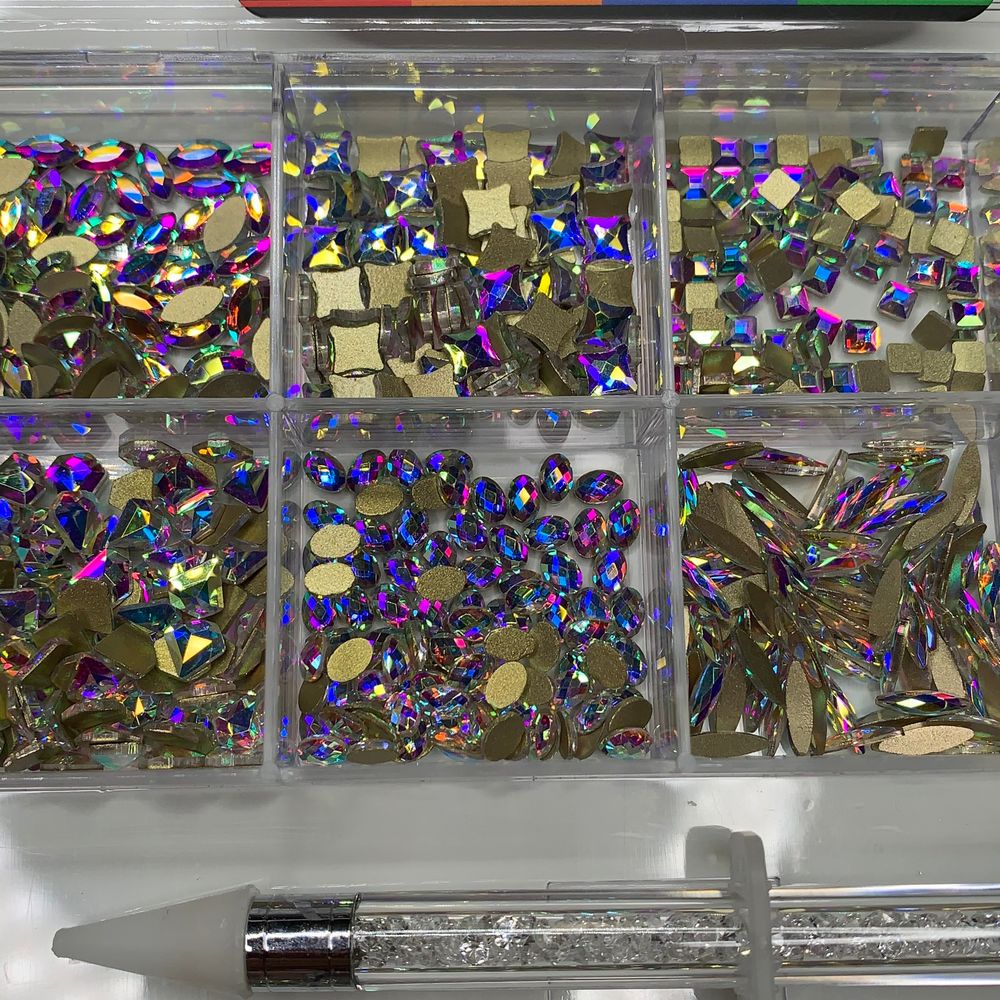
This AB crystal rhinestones set comes as a mixed assortment designed for nail art. The package includes a total of 1400 large shaped crystals and 4000 round crystals in assorted sizes and cuts, organized in a clear acrylic box. You also get a luxury picker pen to help place stones precisely.
Key features explained in plain terms
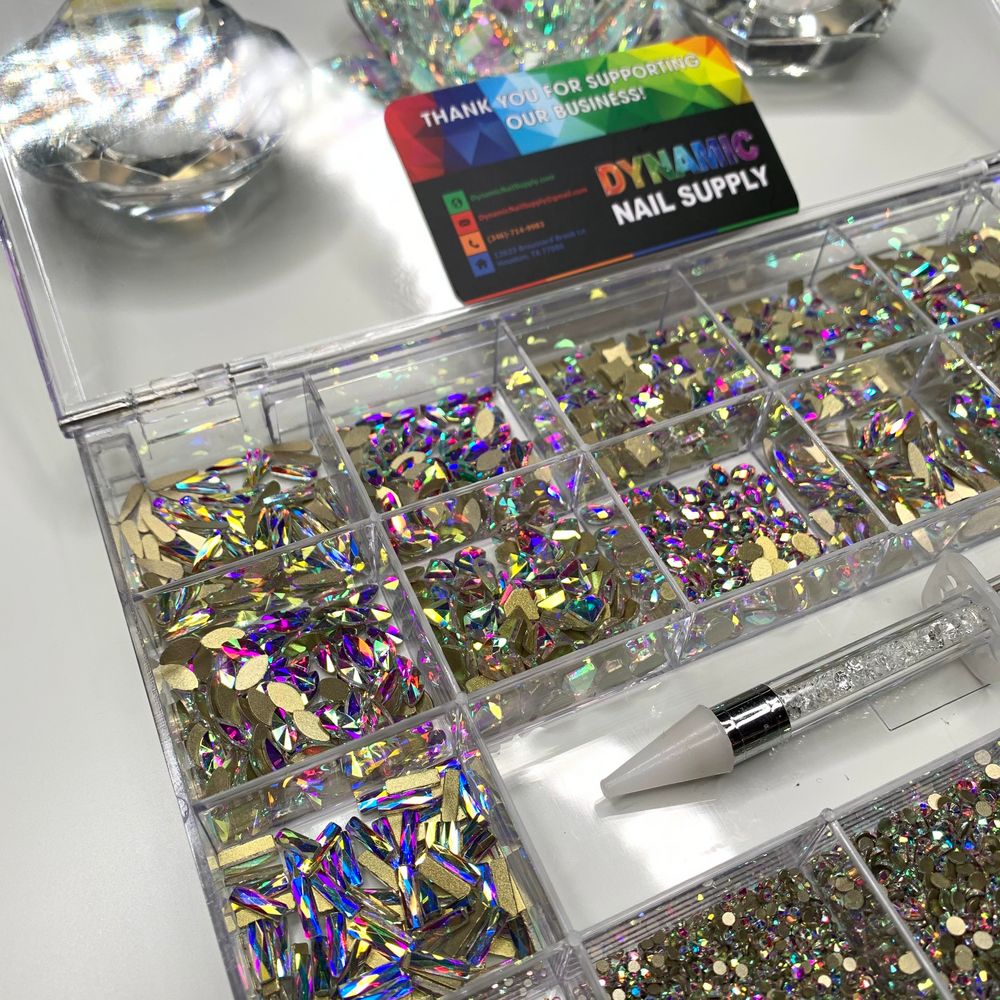
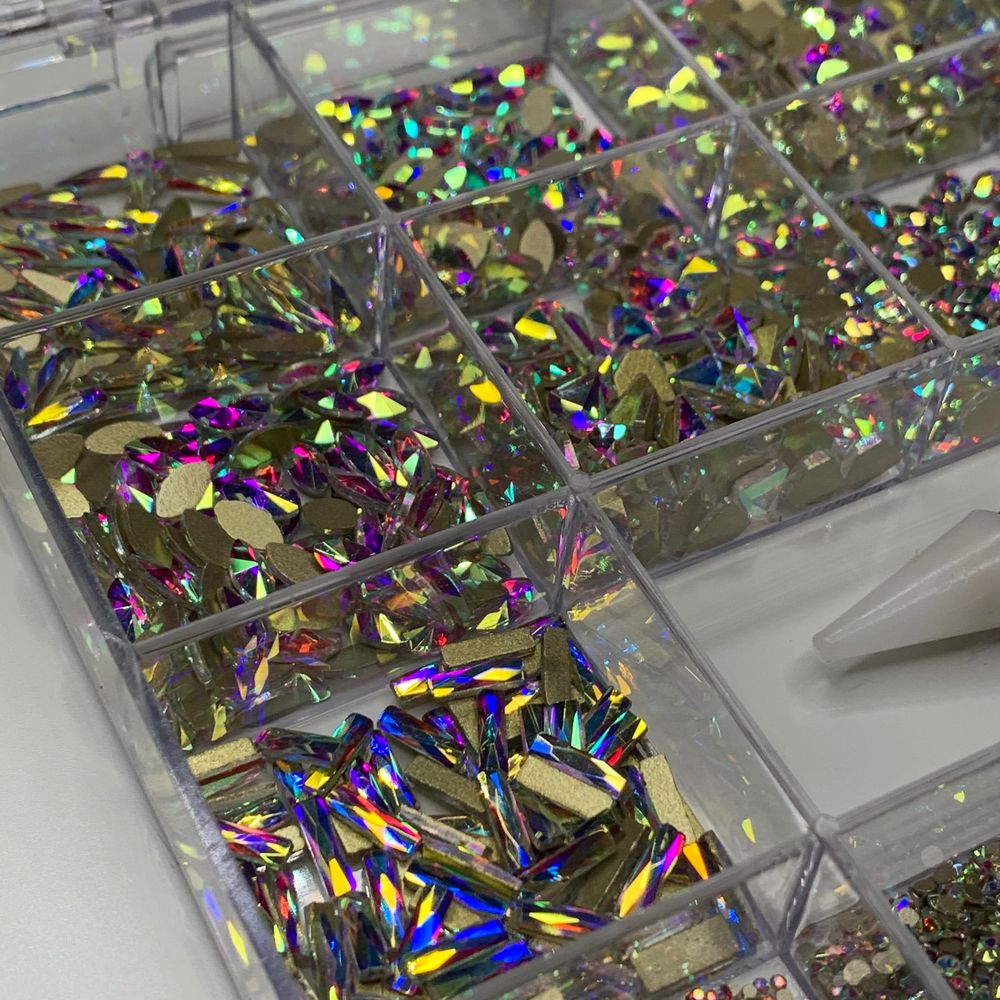
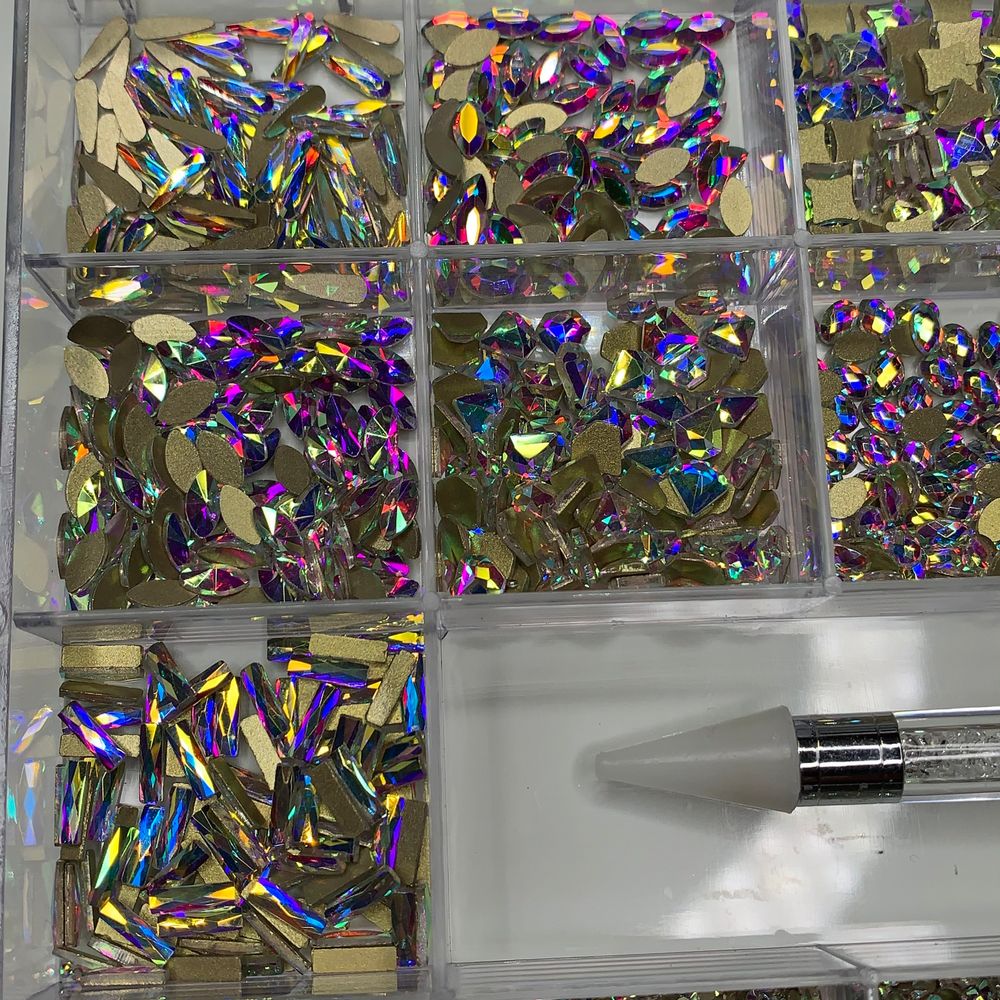
- Assorted shapes: Twenty different shapes give you design flexibility — from teardrops to marquise or fancy cuts. Mix shapes to create focal points and borders.
- High count: Thousands of pieces mean you can practice repeatedly without running out quickly; that’s helpful while you learn placements and spacing.
- Clear storage box: Keeps small pieces sorted so you can find a particular shape or size fast, saving time during application.
- Luxury picker pen: Simplifies picking up and positioning stones compared with tweezers or toothpicks.
Basic supplies you’ll need (besides the kit)
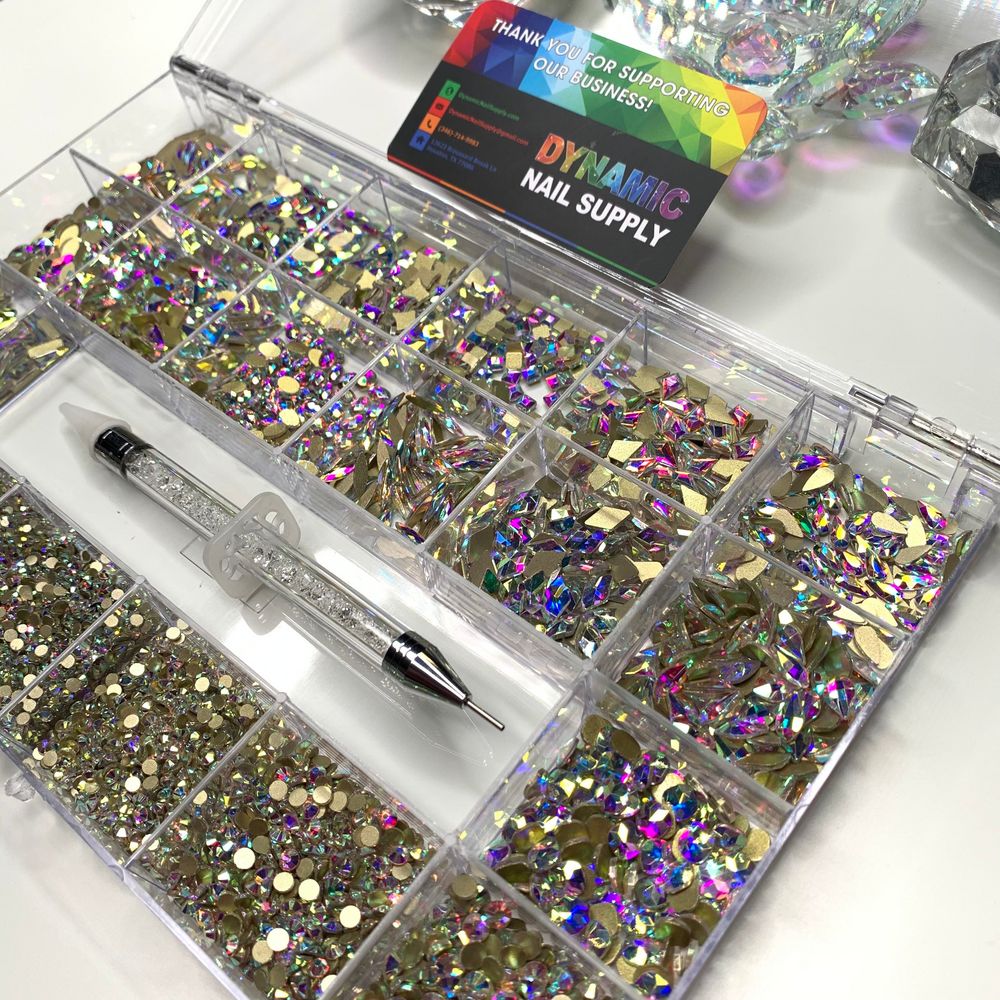
The kit supplies the crystals and a picker pen, but you’ll also want a few common salon basics on hand: a base color or nude polish, a clear topcoat or nail adhesive suitable for rhinestones, and a small dish or tray to hold selected stones during application. If you use gel polish, a tacky layer or builder gel can hold stones before cure.
Step-by-step application for beginners
- Prep the nails: Clean, shape and apply your base color or builder layer. Ensure the nail surface is fully dry or has the tacky layer you intend to use.
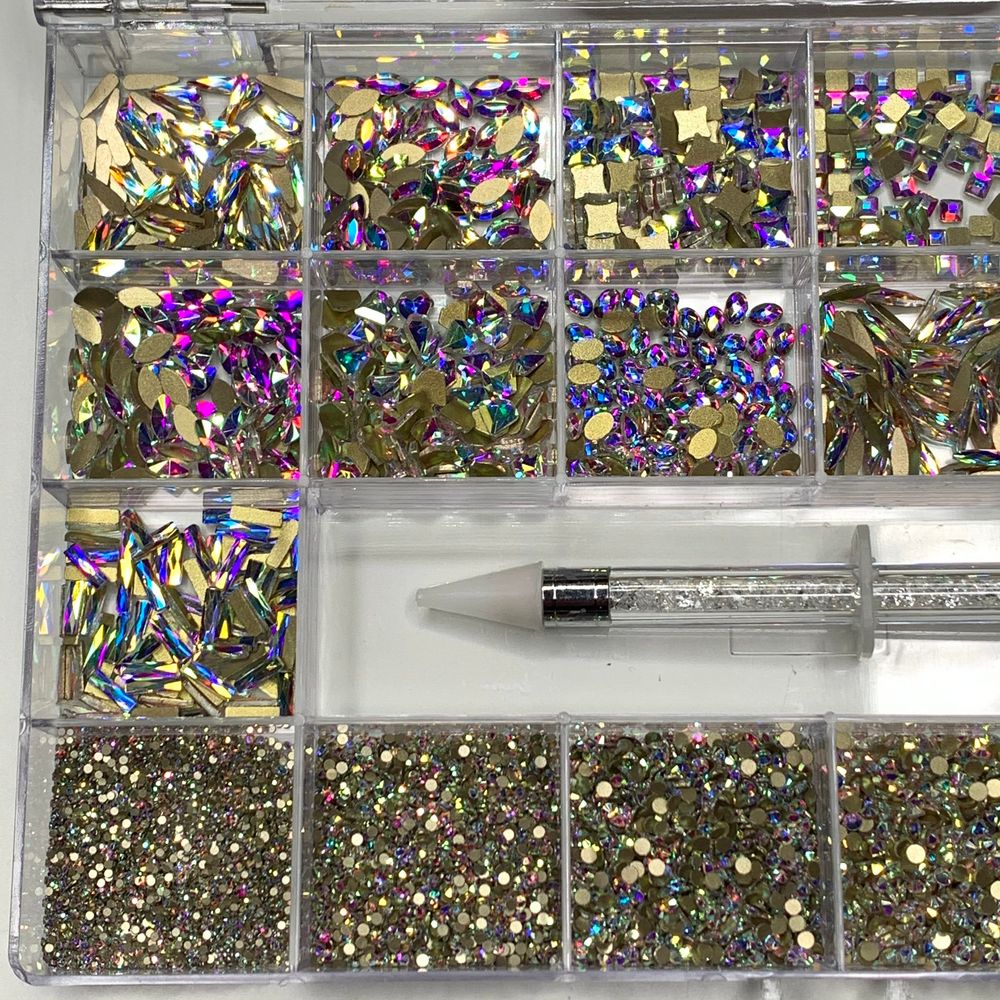
- Organize stones: Open the clear box and sort a handful of your chosen shapes into a small container so you’re not fishing during placement.
- Use the picker pen: Pick up a stone by lightly touching the picker tip, then transfer it to your nail. The included luxury picker pen is designed for precision, especially with tiny rounds and fine shapes.
- Place on tacky surface or adhesive: Set the crystal on the tacky topcoat, gel, or a tiny dab of nail glue. Press gently to seat it—avoid sliding, which can catch the edges and misalign the stone.
- Secure and finish: If you used gel, cure according to your lamp’s directions. For polish and glue, wait until dry and then apply a thin layer of topcoat around (not over) large stones or a full coat over smaller round stones to seal them in place.
- Check alignment: Step back and check spacing and symmetry before final curing or full topcoat application.
Practical tips that save time and improve results
- Start small: Practice with round stones before attempting intricate mixed-shape patterns.
- Work one nail at a time: Reduces the chance of polish drying before placement and helps maintain even spacing.
- Use the box compartments: Keep frequently used sizes in the front compartments so you can grab them quickly during application.
- Plan your layout: Lay stones out on a tray in the pattern you want before placing them on the nail to avoid mid-application changes.
- Reserve heavy embellishments: Save the largest shapes for accent nails rather than entire sets to keep wear comfort high.
Care and safety notes
Rhinestones are decorative and can lift if exposed to harsh chemicals or frequent friction. Protect finished nails by avoiding rough contact with surfaces and by using gloves for household chores. When removing, soak off gels or lift adhesives gently to prevent damage to natural nails.
Who should buy this set?
This assortment is well suited to beginners who want variety to practice with — the large count and included picker pen make repetition easy. It’s also useful for nail techs who need a wide selection for client designs or for hobbyists making many sets. Sold by Dynamic Nail Supply, the kit is a budget-friendly option for those building a rhinestone collection.
Quick troubleshooting
- Stones won’t stick: Ensure the base is tacky or use an appropriate adhesive—fresh glue or a slightly tacky gel bed works best.
- Misaligned designs: Lift the stone gently and reposition with the picker pen before fully curing or sealing.
- Frequent lifting: Check that stones are pressed firmly into the adhesive and avoid placing them too close to the free edge of the nail.
With a little practice and the right approach, AB crystal rhinestones for nails can upgrade simple manicures into salon-worthy looks. Start with small arrangements, use the included tools, and take advantage of the large assortment to experiment with shapes and placements until you find your signature style.
Short conclusion: This multi-shape set is a practical starter kit for learning rhinestone placement. Organize the pieces, practice placement with the picker pen, and protect finished nails for longer wear.
